|
-
14th September 07, 07:46 PM
#1
Converting a tweed sport coat to a Braemar jacket
We have finally convinced my father-in-law to allow us to outfit him in un-bifurcated splendour for this year's Burn's Night supper. We have not yet purchased his kilt (I still don't feel up to a traditional tartan kilt for an adult), but we received a generous gift from bunchdescendent and his lovely wife Chris at the Pleasanton Highland Games this month. It was a thrift store tweed jacket, that was apparently bought for 50 cents.
My mother-in-law is an avid garage sale and thrift store shopper, so when she found out the jacket was free to us, and originally only 50 cents, she was impressed. Given that she has been a bit negative about her son's kilt wearing in the past and pretty strongly opposed to her husband wearing a kilt, it was good to get her approval at last! She has actually begun to get almost enthusiastic about choosing a kilt for him.
Alright, enough preamble. As most of you know, I do photo "travelogues" of my projects, so here goes....
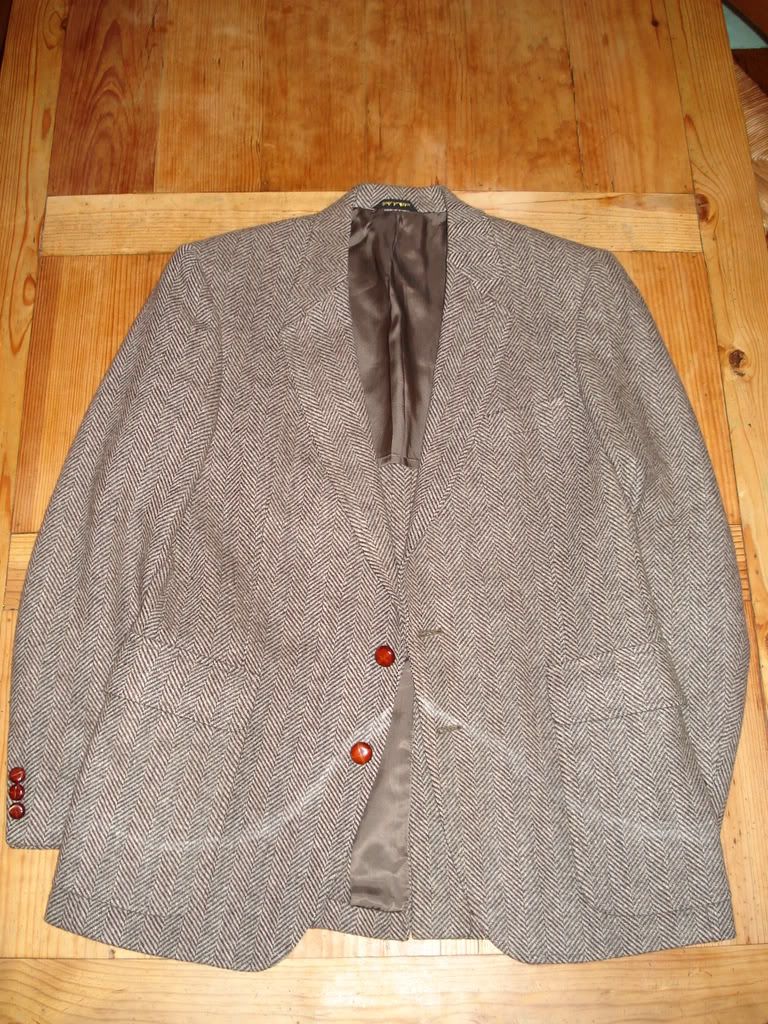
First, the original jacket, roughly marked in chalk (just regular school chalkboard white chalk) for the eventual sporran cutaway.
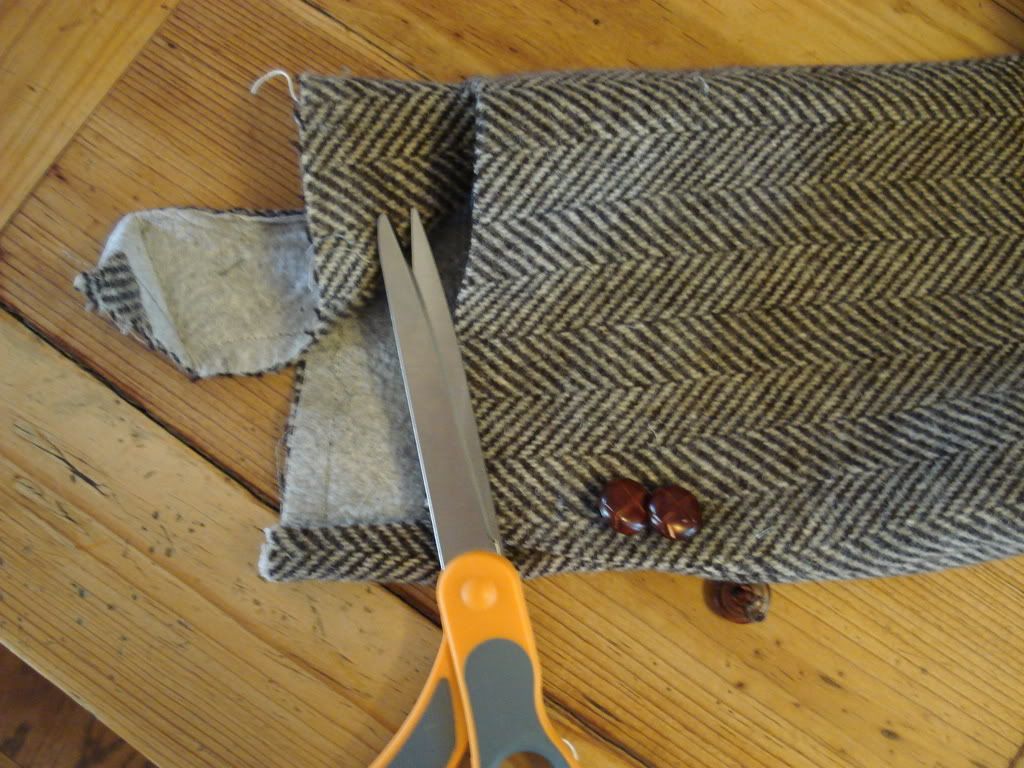
There are big flap pockets on this jacket. They have to go. But don't throw away those pockets! They'll be useful later. One option is to just cut them down and put them back on after removing the bottom of the jacket. That was my first intention, but it turned out not to be practical for 2 reasons (to be revealed when we get there).
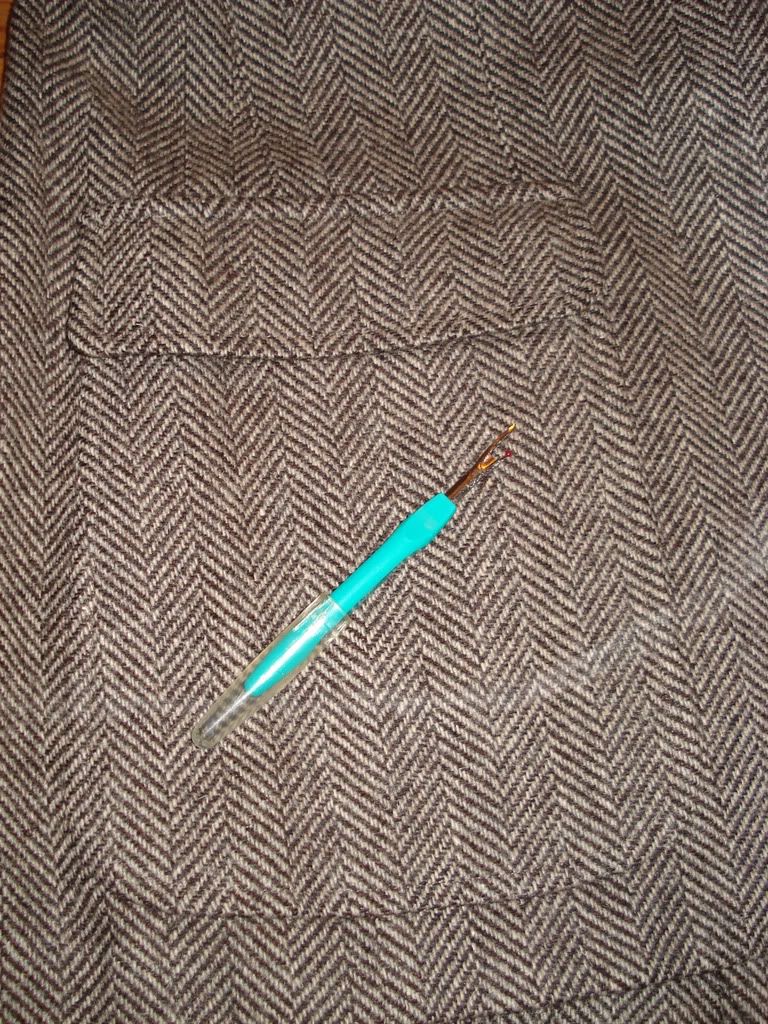
Gently seam ripping the pockets off.
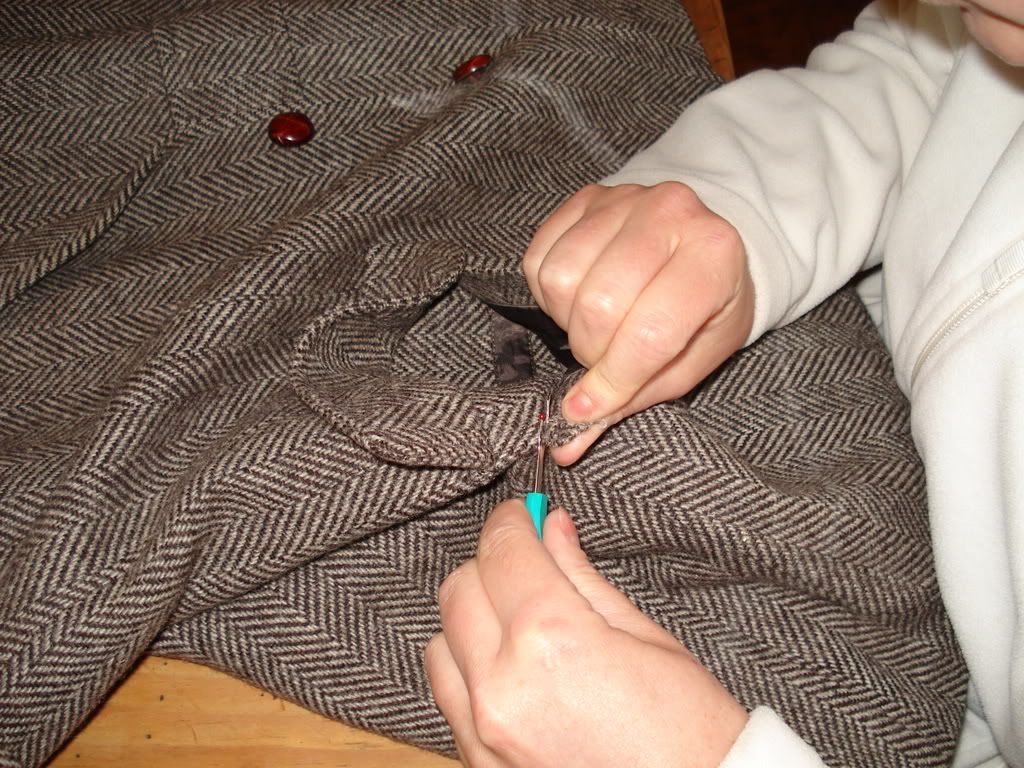
One of the pockets had an additional hidden pocket (made out of the same material as the liner) which also was removed. Note the strip of protective liner fabric under the pocket flap. Originally this was not a problem, but now that I have decided not to replace the pockets, I will have to remove this.

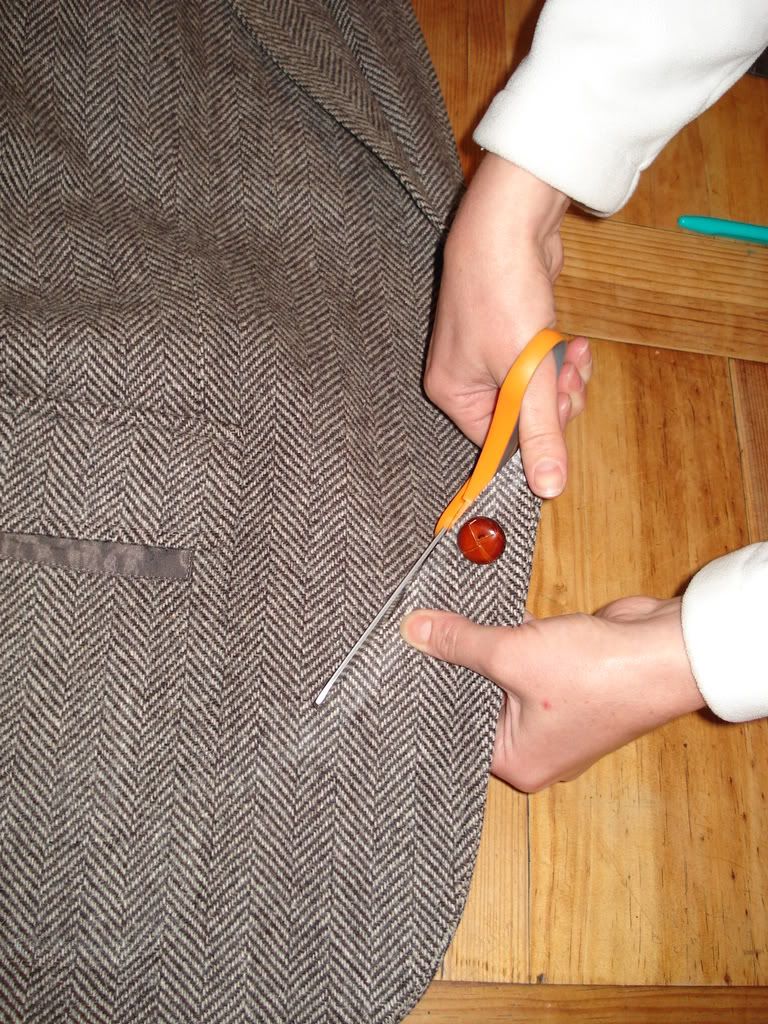
With the pockets out of the way, I can now boldly chop off the bottom of the jacket. My cautious husband was shocked at how casually I did this-he thought I should be measuring a few dozen more times before irrevocably removing the bottom of the jacket. I figured, shucks, this jacket only cost $0, so what if I screw it up! And by the way, isn't that a dreadful button?
Much more to come, but a warning as well....I'm not finished yet, and given my work schedule, I may or may not finish this week, so be patient.
Be well,
-
-
14th September 07, 08:11 PM
#2
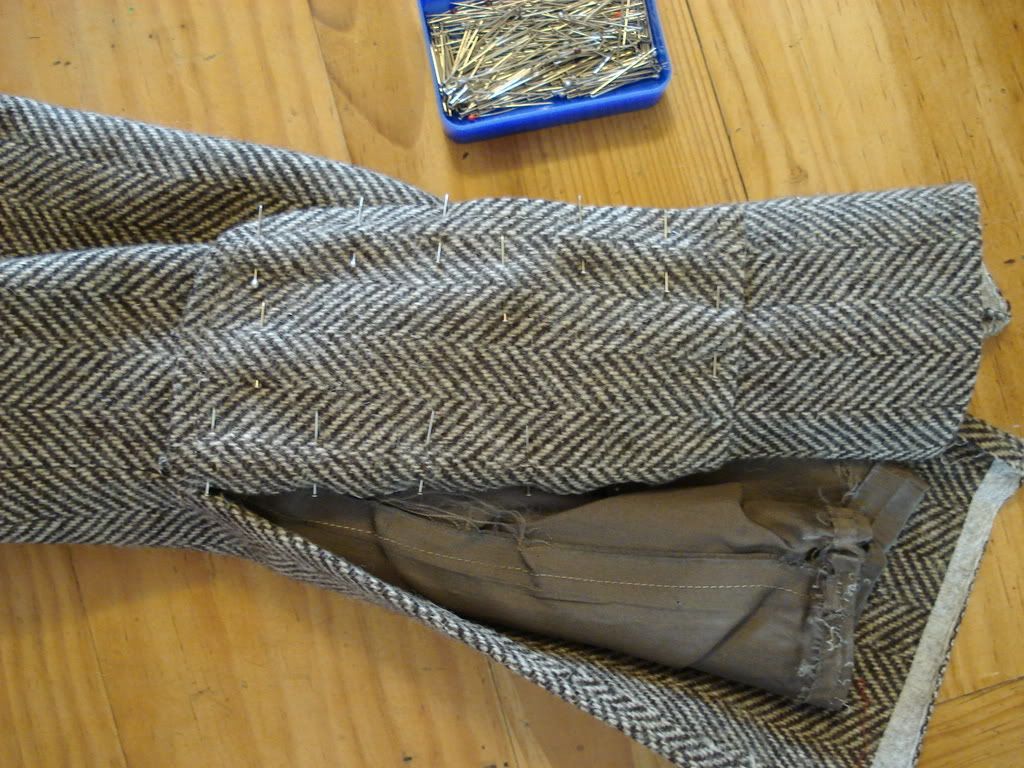
Moving on, we need to finish the bottom edge of the jacket. This jacket is only partially lined-the sleeves, the front panels and the upper 1/3. Therefore only the front part involves a lining when re-doing the hem. The original jacket has a blind hem all the way around, but I noted that on Panache's Braemar and on his converted day jacket (done by a tailor because I was too chickens***), the front of the jacket has a visible hem, carrying on the line of the front lapels. I decided I would copy this and do the front (where the lining is) as a visible hem and the back as a blind hem. Here is the front, pinned up to see how it looks.
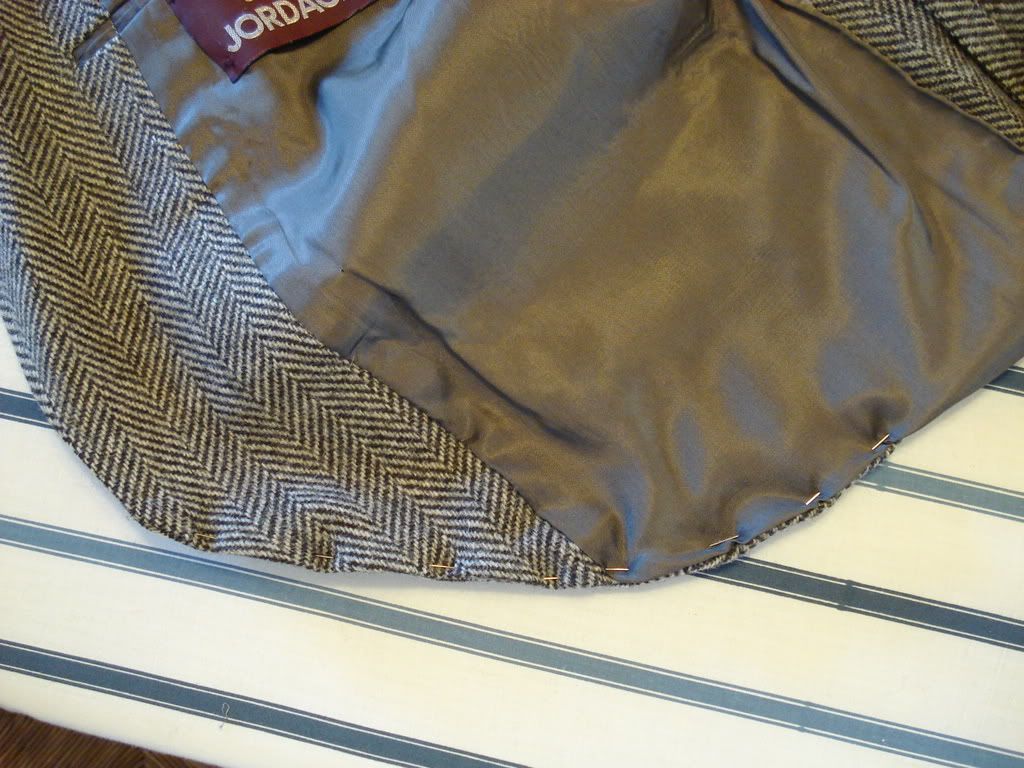
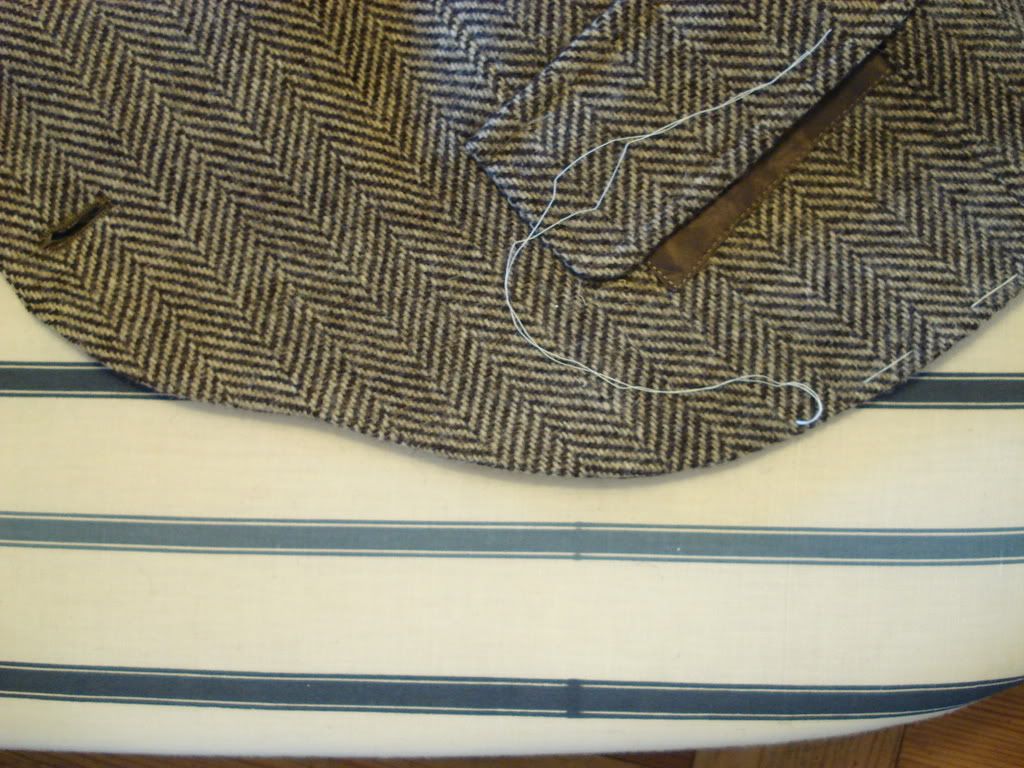
I replaced the pins with basting stitches (less deformation of the material this way). And by the way, until about 8-9 months ago, I didn't even know what basting was!
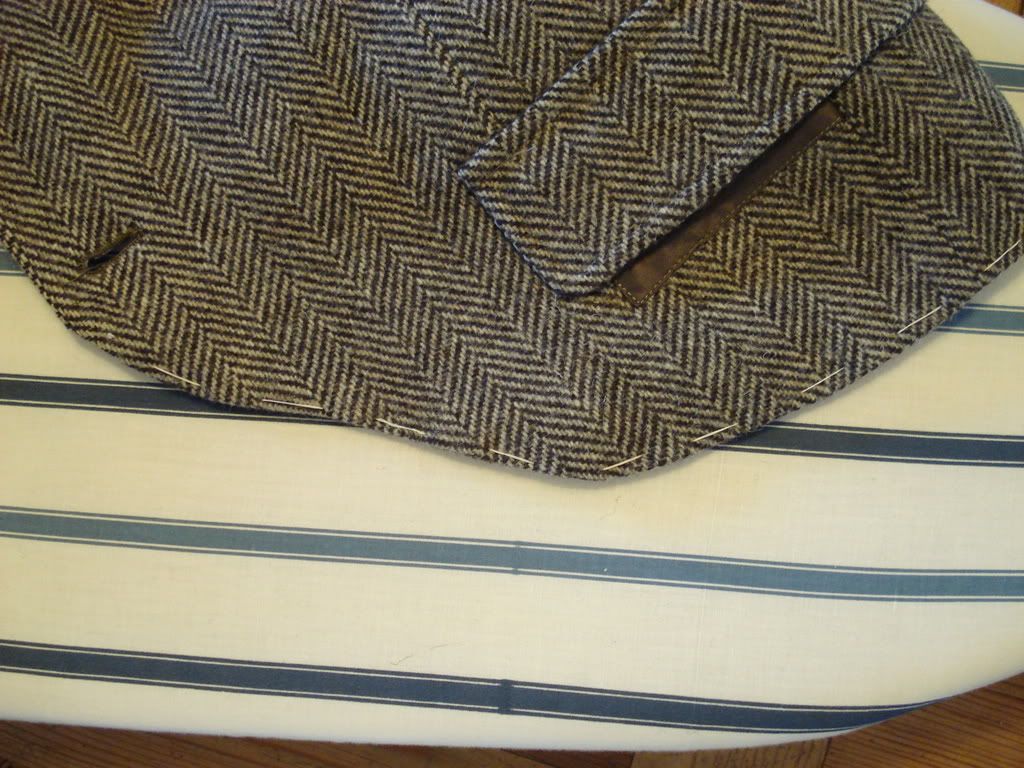
In the above picture, note that there is an unnatractive sharp edge where there should be a graceful curve. I removed the basting stitches at this point and re-pressed, to smooth things out. Note that there is still a little divot on the curve-I couldn't avoid this, as it is where the second button was.
Next, we are going to work on the sleeves...
Be well,
-
-
14th September 07, 08:19 PM
#3
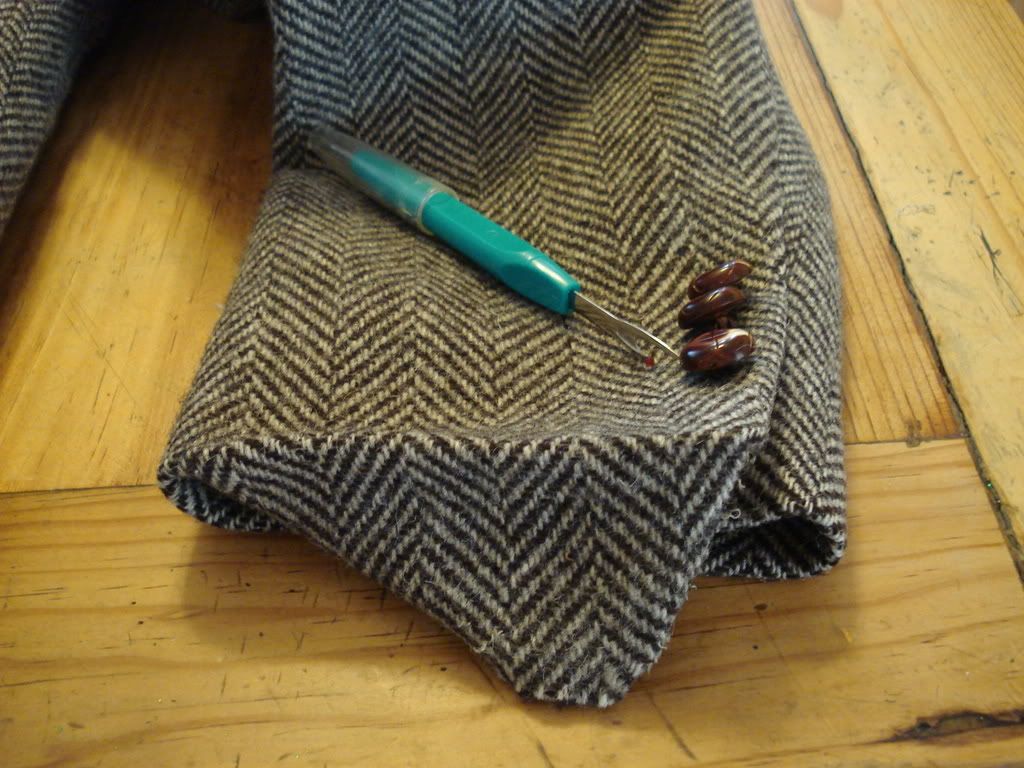
 Originally Posted by The F-H.C.A.G.

And by the way, isn't that a dreadful button?
Beauty is forever in the eye of the beholder, but, I like leather buttons like that, especially when matched with leather elbow patches!
-
-
14th September 07, 08:33 PM
#4
The sleeves of the Braemar have patches attached to the inside seam, with buttons on the patch. Here's where the pockets I removed come in handy.
First, I have to mention that my father-in-law is a small man. He has been described as a gnome (which, perhaps, explains Panache's elvish look  ). Therefore, he has short arms, and the sleeves needed shortening. So, I had to rip out the blind hem of the sleeve, remove one button... ). Therefore, he has short arms, and the sleeves needed shortening. So, I had to rip out the blind hem of the sleeve, remove one button...
And cut the sleeves down...
In order to place the patches within the inner seam, I had to open up the inner seam high enough to place the patch...

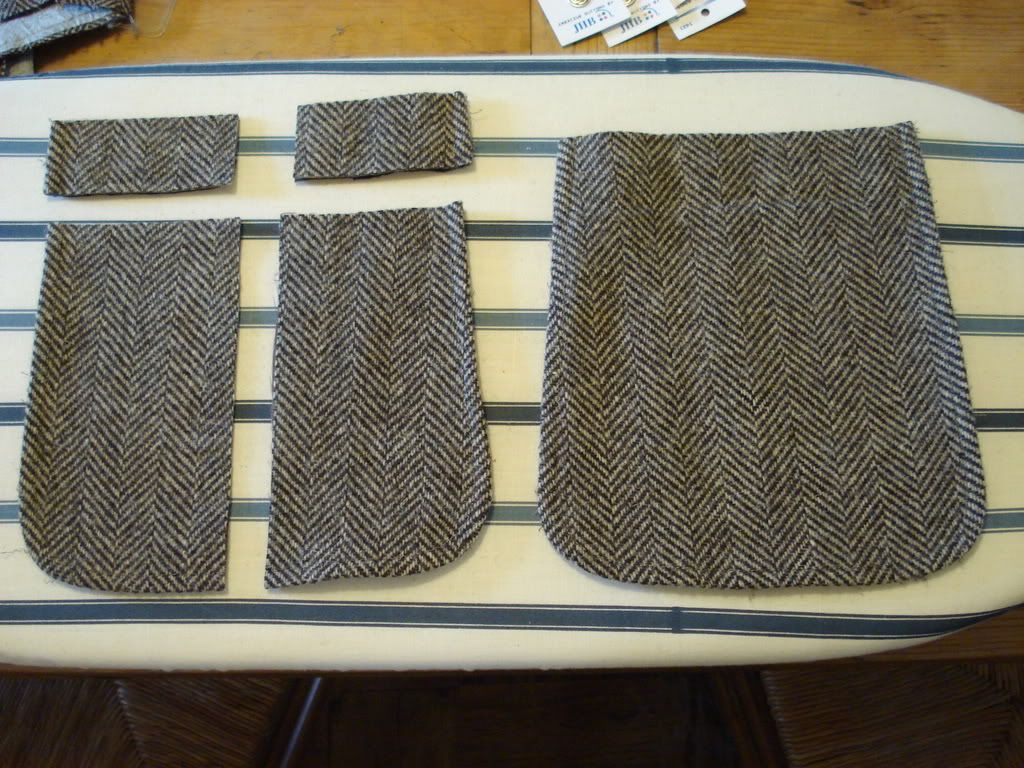
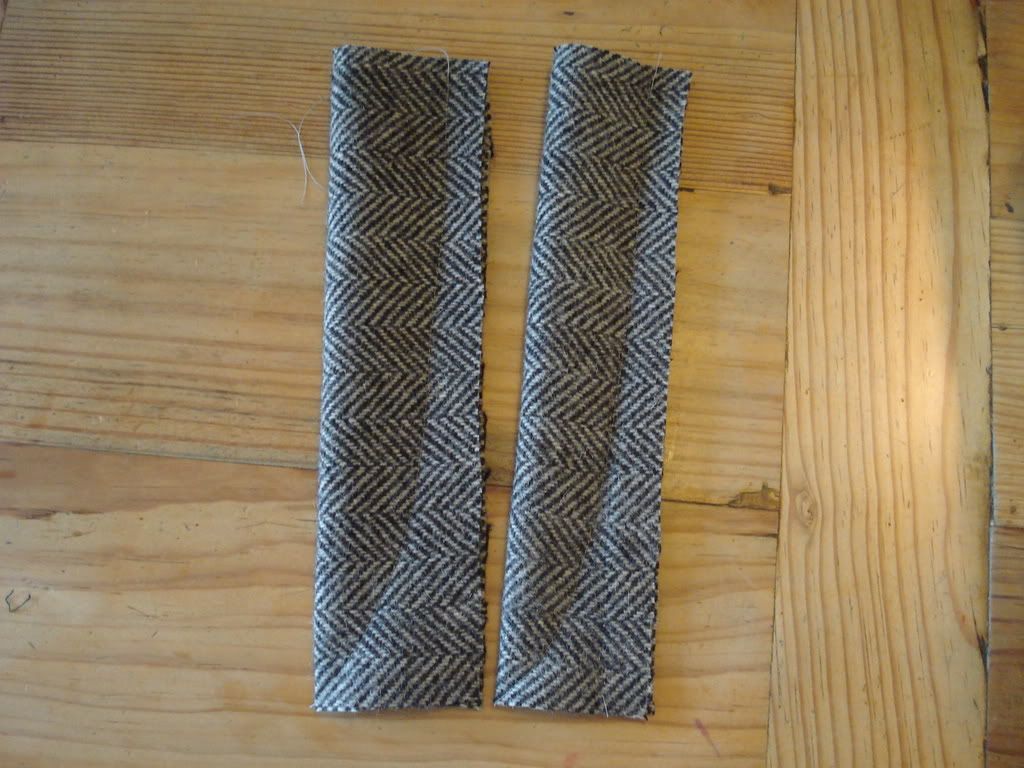
Making the patches was actually very easy. Remember the pockets I had to remove? Well, they had a very attractive curve, already nicely pressed in, so one was easily converted to patches as seen here (pocket on the right, patches on the left)...
Here, I've pinned the patch into place. Note plenty of hem to turn up when I am done with the patch.
Next, the placement of the patches and starting to actually sew some stuff!
Be well,
-
-
14th September 07, 08:43 PM
#5
When you are finished, I bet your Father-in-law will prize that jacket more than an $800 Peer Cardon (or whatever his name is)..........
Thanks so much for sharing the process! Can't wait for the flix of him wearing it!
-
-
14th September 07, 08:45 PM
#6
Fisrt, I sewed the raw edge of the patch (the side where I cut the pocket in half) into the inside seam of the sleeve and sewed all around the patch (when I have finished, the inside seams will be covered again with the lining of the sleeve).
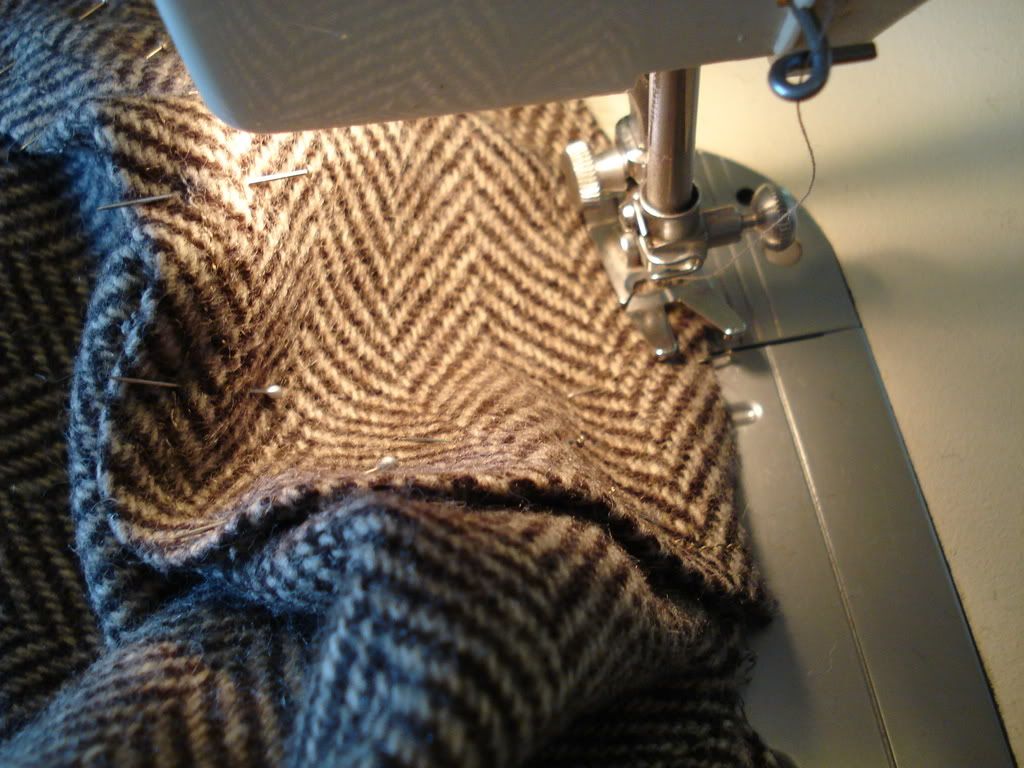
Then, I had to sew up the seam again. This was a bit challenging, as there is a liner, and I'm trying to sew from the inside, so the seam is hidden. This involves turning the sleeve inside-out and sewing up the seam, making sure to catch the pach in it. I tried to take a picture, but I'm not sure how illustrative this is.
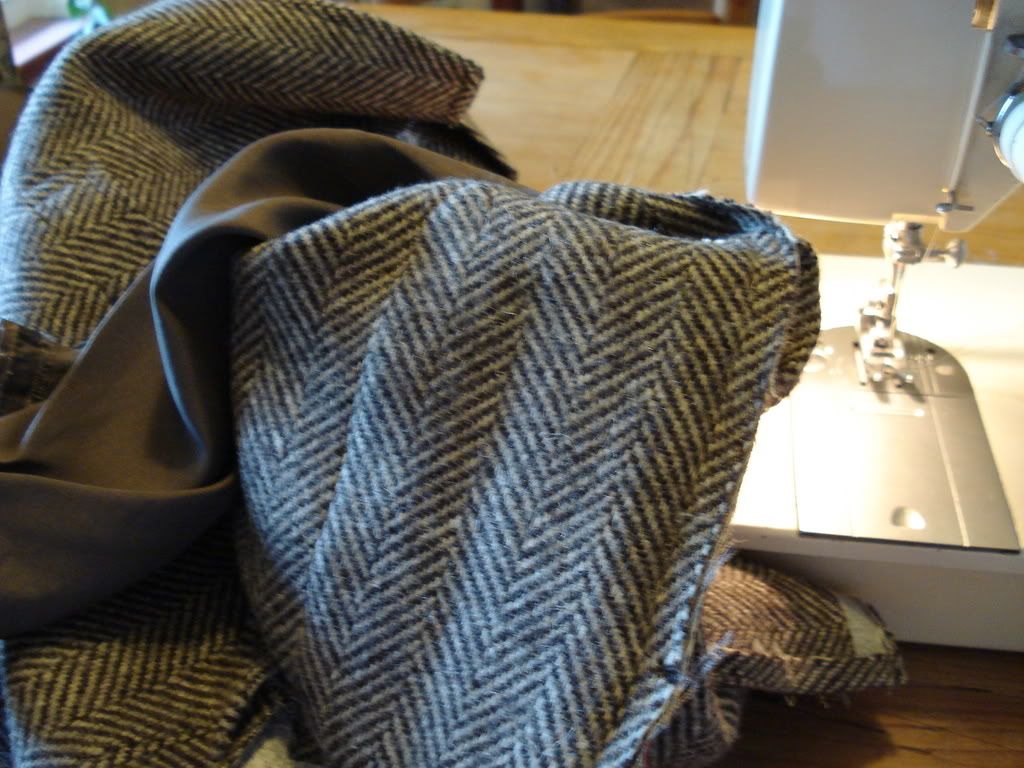
But, it worked!  Here's the finished sleeve (still needs a blind hem, which will happen later). Here's the finished sleeve (still needs a blind hem, which will happen later).

Next, I am going to prep the epaulettes (sp?) and sew the bottom edge of the jacket...
Be well,
-
-
14th September 07, 09:02 PM
#7
Warning! This is the last post for the night. Next post may be on Sunday, but more likely next Thursday, based on my work schedule.
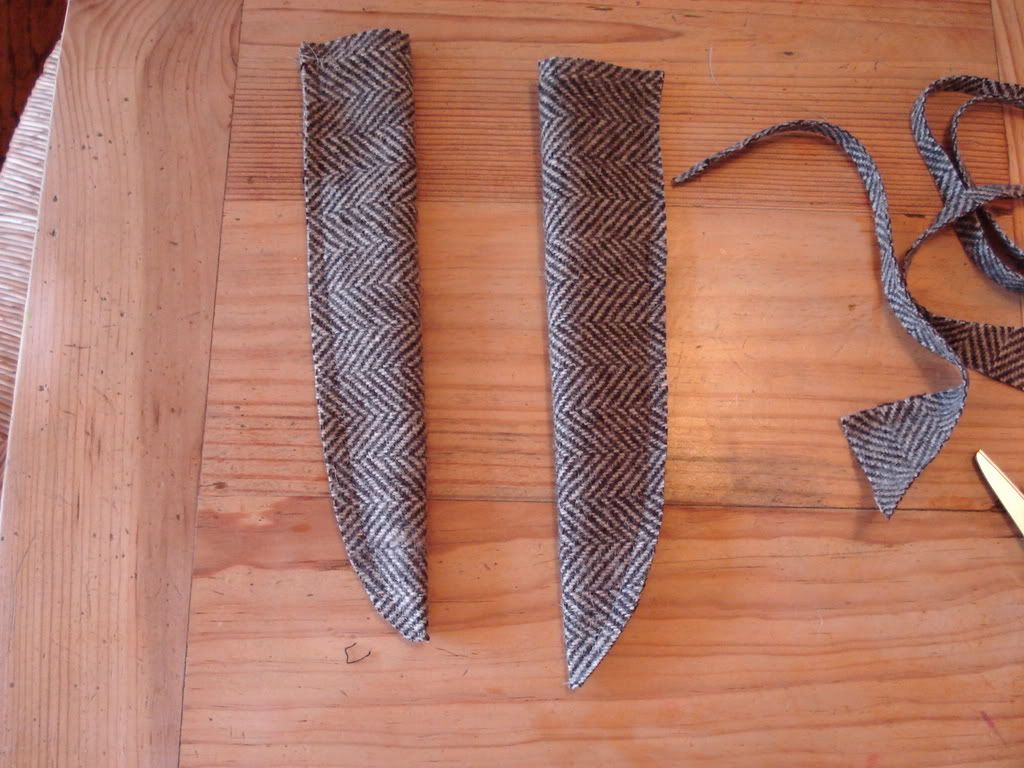
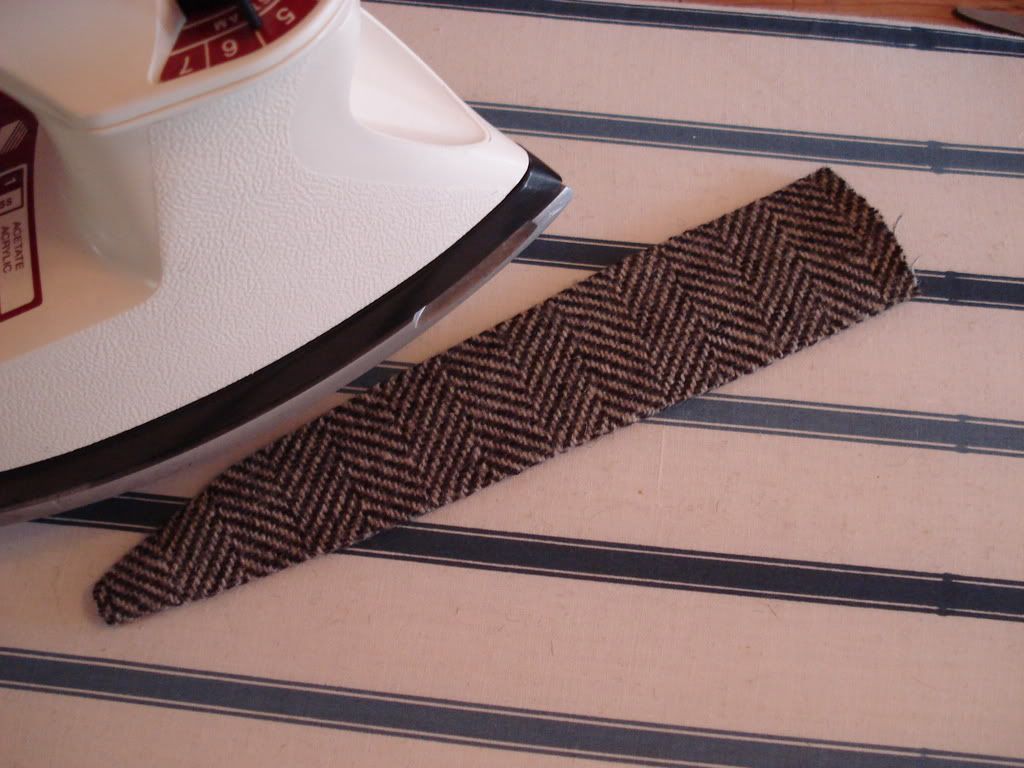
Today, the last thing I did was to prep the epaulettes (again, sp? as my French is poor). I flattened out some scraps from the bottom of the jacket...

I sewed them into a tapered/rounded shape...
Cut off the excess material...
Ironed the seam flat...
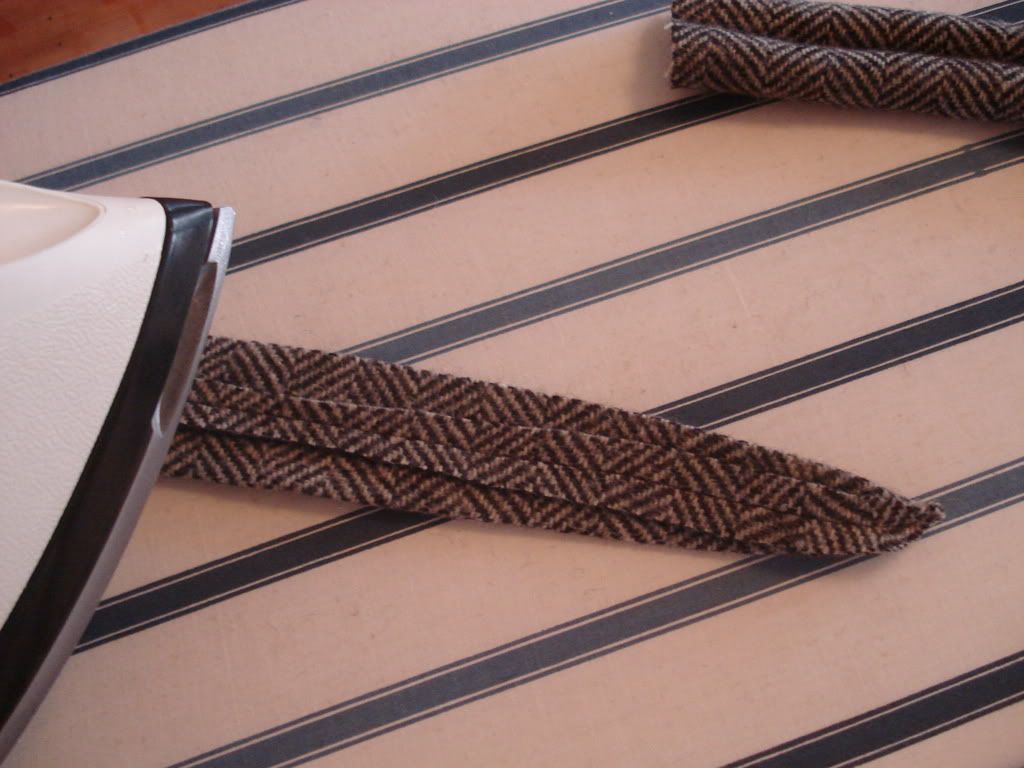
Turned them inside out (sorry, no picture, as I was alone and turning them inside out takes two hands), and ironed them flat, as so....
Today, I also sewed the front edge of the bottom hem, but, sadly, forgot to take a picture of this process.
My next available spare time will be spent ripping out the seam of the outer shell and the lining in the shoulders so as to insert the epaulettes (I give up on the sp? thing, somebody, please tell me, am I spelling epaulettes right?) and sewing on the buttons (3 on each sleeve patch, one to close the jacket and one on each epaulette).
Then, I will be done, and will try to post pictures of the actual father-in-law, at which point you can all tell me if he is indeed gnome-like!
Be well,
-
-
14th September 07, 09:31 PM
#8
Originally Posted by The F-H.C.A.G.
(I give up on the sp? thing, somebody, please tell me, am I spelling epaulettes right?)
My spell checker says you have it right!
-
-
15th September 07, 04:12 AM
#9
Fantastic work.
As always, I'm impressed by your sewing skills.
-
-
16th September 07, 11:47 AM
#10
Yeah I'm always impressed too! Looking great so far.
-
Similar Threads
-
By Kizmet in forum General Kilt Talk
Replies: 9
Last Post: 3rd June 07, 01:44 PM
-
By Jerry in forum Professional Kiltmakers Hints and Tips
Replies: 3
Last Post: 16th October 06, 09:47 AM
-
By Buddha in forum Kilt Advice
Replies: 11
Last Post: 26th June 05, 05:06 AM
-
By beerbecue in forum How to Accessorize your Kilt
Replies: 0
Last Post: 24th January 05, 12:40 PM
Tags for this Thread
 Posting Permissions
- You may not post new threads
- You may not post replies
- You may not post attachments
- You may not edit your posts
-
Forum Rules
|
|


Bookmarks