


"The Art of Kiltmaking" does a very good job of explaining how to understand Tartan and how to lay out the pleats in preparation for sewing.
But some of us need just a little more help. To fully appreciate Tartan from a kiltmakers standpoint takes an artists eye and a lot of experience. Few get the principle on the first reading of the book.
I thought it may help some to understand what Barb is trying to get across by looking at the problem through the eyes of an Engineer.
I call this pleating by the numbers.
Now Barb has told me many times that there is no way my system will work. I take her word for that. But we have using this method at Freedom Kilts for over seven years now and it has worked every time. I guess we will run across a Tartan where this won't work one day but so far it has worked on every Tartan we have tried it on.
OK, on to the the idea behind how this works.
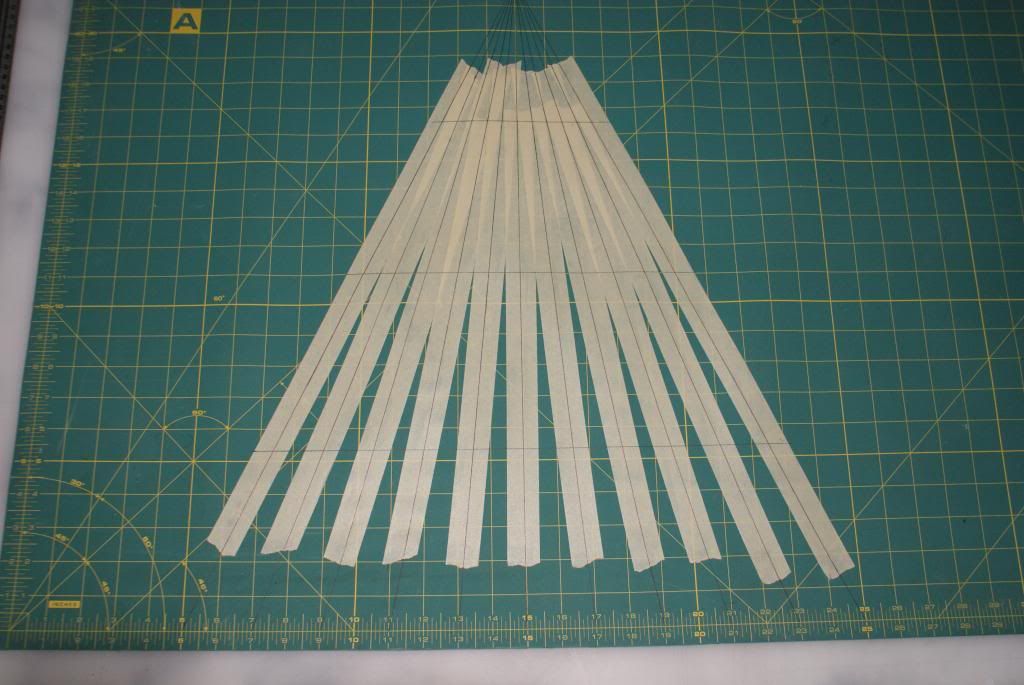
The first step is to create a set of lines that are equally spaced yet can vary in width. Here is how that is done.
Notice please that I used an Olfa cutting board. Well that is because there is already a grid on the board. You don't have to use a gird like this but doing so makes the lay out of the lines much easier.
I also layed down some strips of masking tape to allow the ink lines to show up better for the photos.
(All of the layout table in my shop have 5 foot X 3 foot Olfa boards permanently glued to their surfaces. Each table has one of these sets of lines permanently marked on it.)
Start drawing lines from one single point at the top of your work surface and draw down to any equal spacing. I use 2 inches. If you don't have a grid to work with use a ruler taped to your work table. (If you're going to use a good surface like your dinning room table please use painters tape so you don't mar the varnish.)
If the lines start from a single point at the top, and are equally spaced at the bottom, they will also be equally spaced anywhere up or down. If I want narrower pleats I move up, and if I want wider pleats I move down.
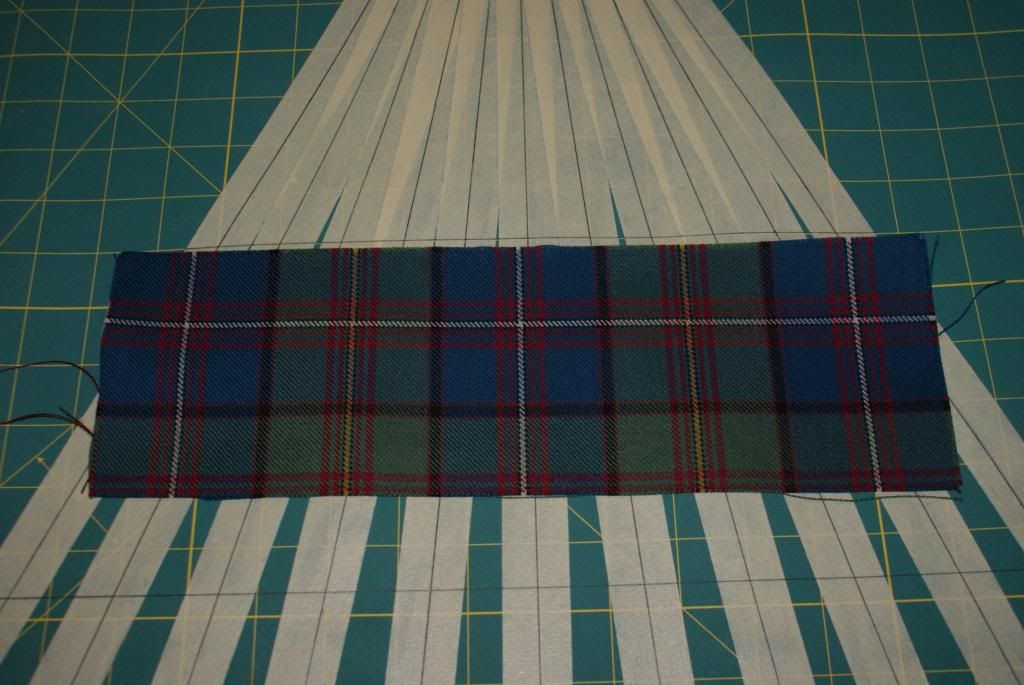
Now you need a piece of the tartan fabric you are working with. This can be a scrap or a leftover from the waistband out of the middle of your double-width fabric.
The Tartan I am using for this tutorial is The Victoria, City of Gardens Tartan in 10 oz wool because it presents a few unique examples that I would like to point out.
Please insure your strip of fabric is cut parallel to the hem of your kilt. Some Tartans are not the same up and down as they are left to right. (Warpwise vs Weftwise)
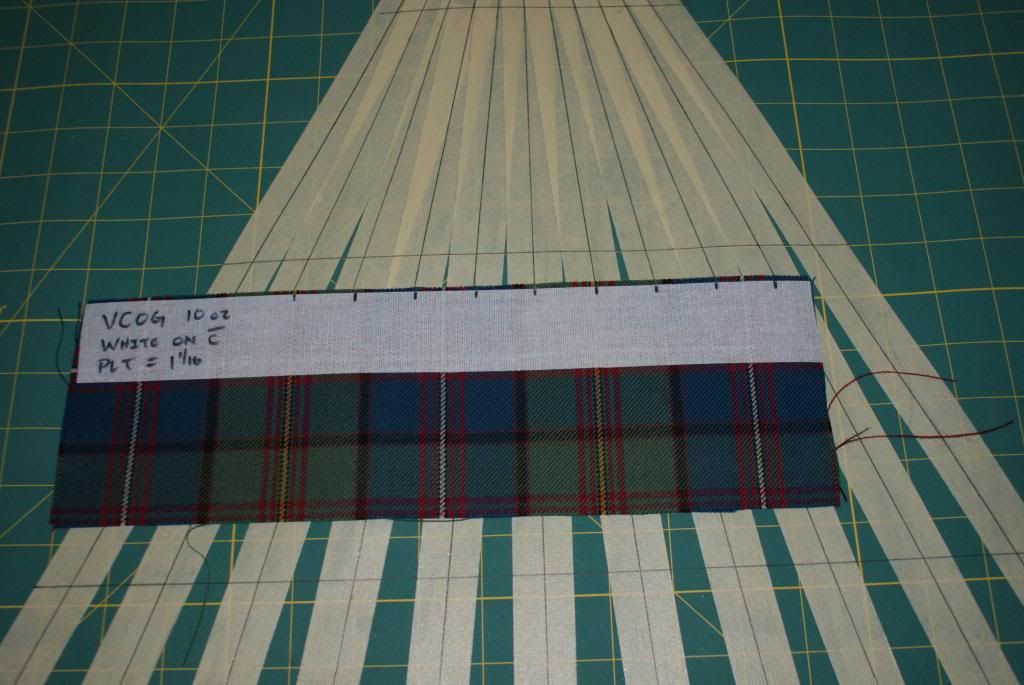
Now, you will be needing to mark directly onto your fabric strip. You can use chalk but that will come off and you will loose your marks moving this strip around.
(And you will be moving this strip around a lot. )
I use fusible waistband interfacing. This not only gives me a good surface to write on but stabilizes the fabric so it does not change shape while you play with it.
Notice that this piece already has some lines on it. We save these strips so we don't have to go through this process with each new kilt.
For this example though I am simply going to put another fusible strip on the other side. Now I have two ways to pleat this tartan on one piece of fabric. (Clever or cheap? I dunno, I leave that up to you to figure out.)


Bookmarks