


O.K. I had to do it. I decided to make a semi-traditional canvas kilt using instructions from a site I found on xmarks that would work for offroading and shop use. http://users.tinyonline.co.uk/chegc/kiltsite/page2.htm
It's a five yarder w/ 21 pleats and took about 4 hours to make with their instructions. It's kind of like working on aircraft. Figure out the dimensions, rivet pitch=pleat spacing, layout, drill and deburr=pin it togeter, rivet=sew. When I take it out on it's first test flight I hope it will take plus or minus 6 g's. It takes the same thought process and some visualization. Construction time was about 4 hours. Should be able to cut that down considerably now that I understand the basics. I took pictures of the process but when you leave the memory stick in the computer it doesn't do much good. I prewashed and dried the canvas and it fit great after being put together. It seems to have stretched a little so next wash will be hot and hot dry and hopefully that will bring it down an inch or so. It's canvas and meant to be abused so I used nylon webbing and buckles instead of leather and brass in my interpretation. I can put some detail photos up if anyone has interest. Here are the pictures.
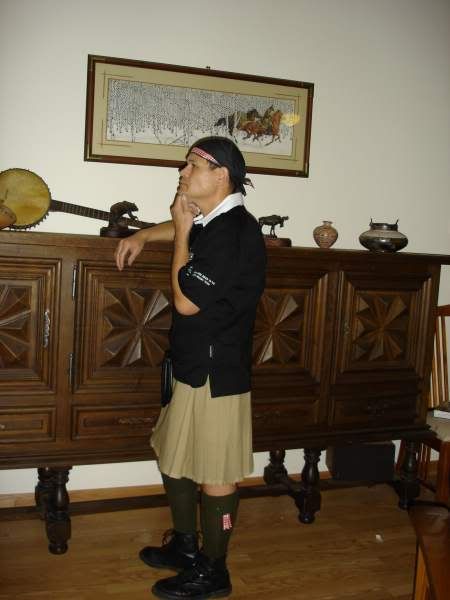
Untucked (not a good look for me)
Right untucked
Left untucked
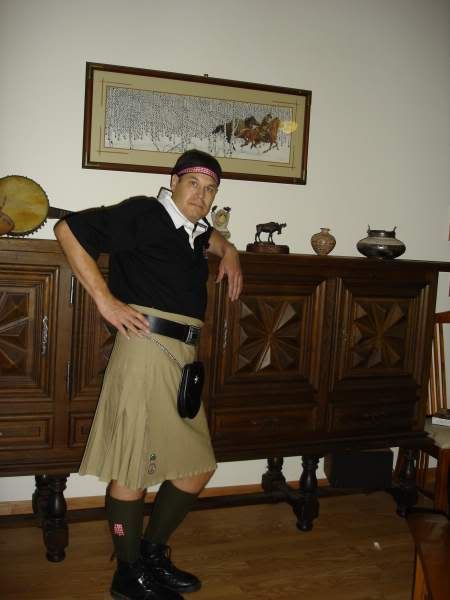
The leaner (tucked, I like it better)
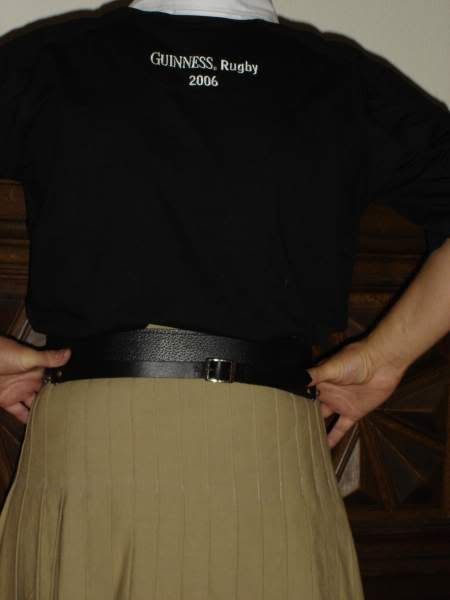
Sewing (I'm getting better)
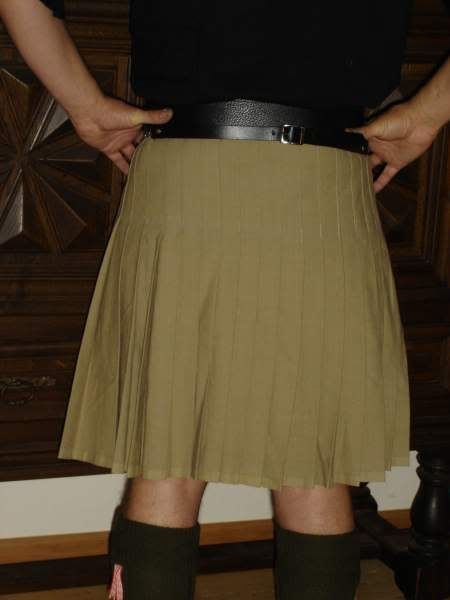
Back pleats (Needs final pressing)
You can still see some of the blue tailor's chalk marks. If anyone has any pressing technique advise, I'd appreciate it. These were pressed when I had it layed out before I put on the top binding and hardware. If you've been wanting to try it I would encourage you. I really appreciate the work that goes into making a kilt now. I'm glad I didn't have to deal with a tartan pattern on the first attempt. O'Neille


Bookmarks