


To help with Barb's explanation of these pressing systems.
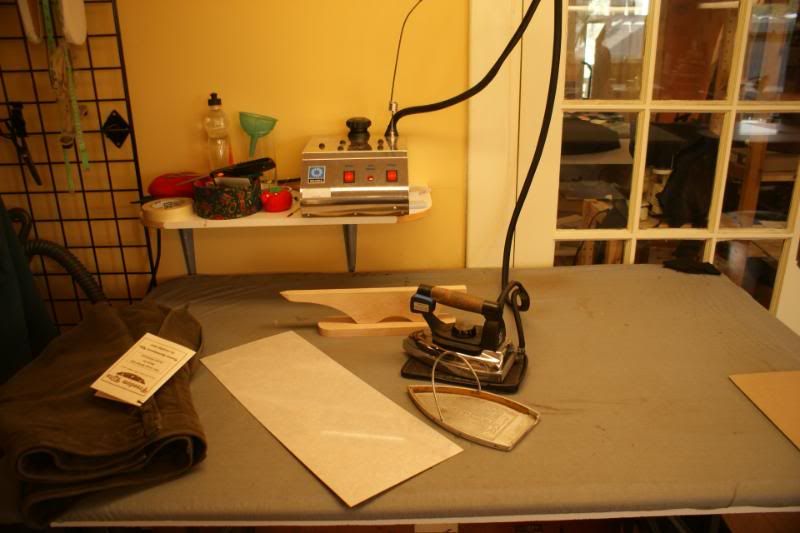
Here is one of our pressing stations showing the complete system.
The tank up on the shelf is where the water is heated. This allows the sole plate of the iron to be set to the correct temperature of the fabric we are working on. P/V, Poly/cottons, 100% Cottons and Wool all use different temperatures.
With these systems the plate of the iron is not used to create the steam so you can set the temperature of the sole plate just right without scorching the fabric.
There is a blue button near the handle of the iron. This is the steam button. These irons can shoot a jet of steam half way across the room. As it is the steam and the pressure that does the work having control over the steam in these systems is the real secret.
Also in this photo you can see the Teflon sole plate that eliminates the need for a pressing cloth. It is held to the iron with the spring.
Here is a shot from a different angle showing the pressing table.
Note that we do not use an ironing board. They are great for Barb because she moves around a lot. Here in my shop we use these tables. They are made from a set of folding legs bought at Home Depot, a piece of melamine board and covered with a pad and a heat resistant Ironing board cover. Each table is set for the height of the kiltmaker. Each table is 3' X 5' so an entire Kilt can be pressed at one time.
So how is it used?
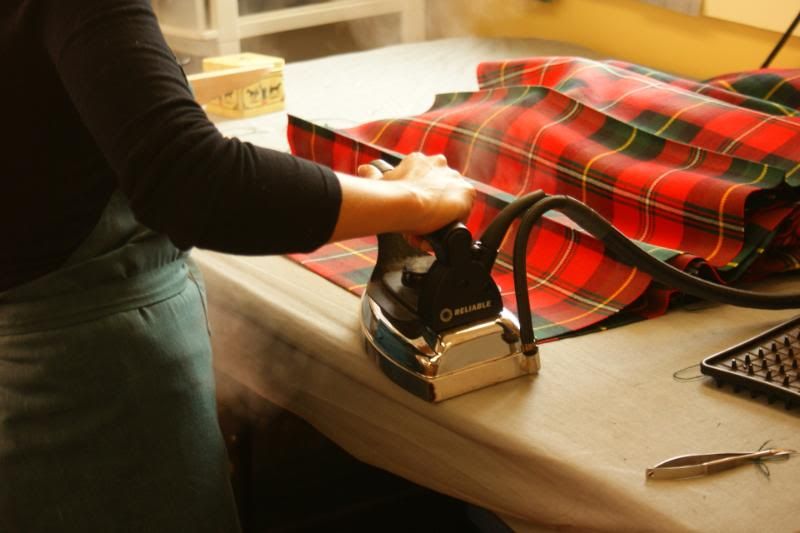
Here is how we press the pleats on a Wool Kilt.
We first heat the fabric using the steam from the system. The great thing about steam is that it is very predictable. The temperature of steam is enough to soften the fibers of the kilt but not hot enough to scorch the fabric itself.
Please notice that we pre-press our pleats before basting. This is different than Barb.
If you just can't get around the idea of not using a pressing cloth note that often we use one too.
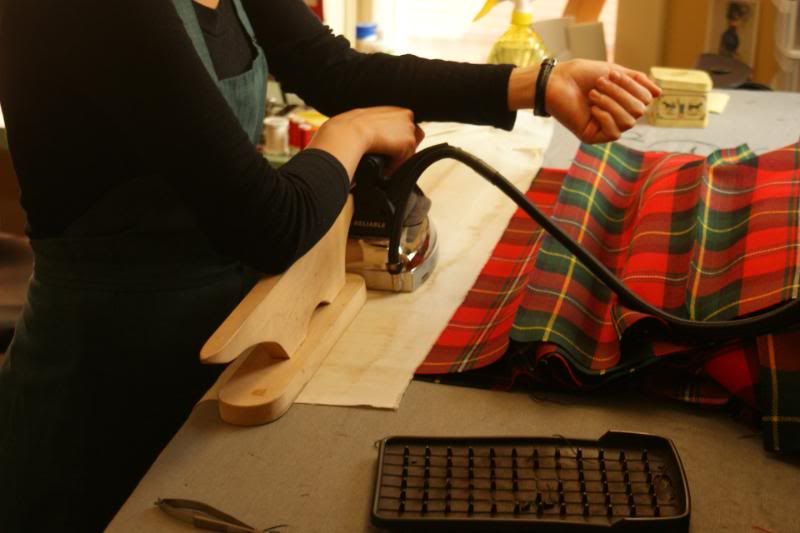
Heat the fabric with the steam then press it down HARD with the clapper.
Pick up the iron and move along the pleat and heat the next section.
Then move like this along the entire pleat.
The Steam does the work of softening the fibers and leaning on the clapper puts the pressure on the pleat edge to set it.
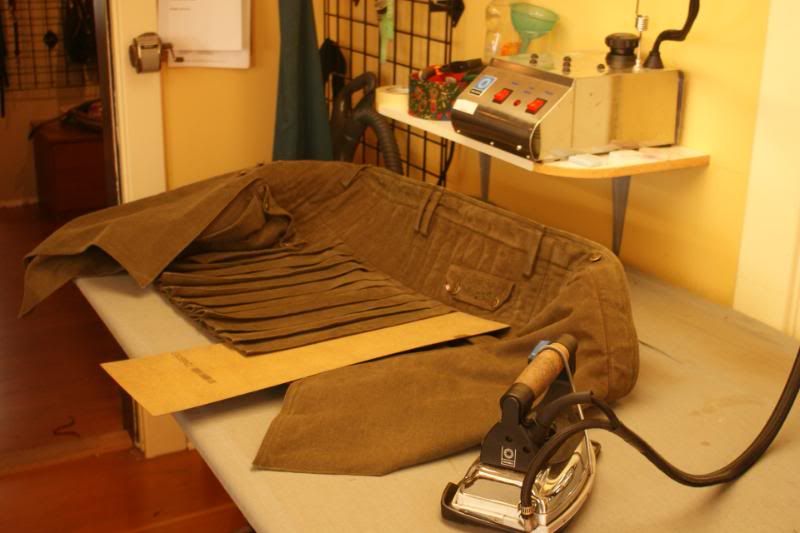
Just a note for those who think this way of pressing pleats a bit strange.
If you look down the edge of the pleats already pressed you will see that the taper is already in the pleat. This must be measured and marked before pressing.
We do it this way because we machine sew our Fell.
There is one other way that we use our irons.
We make our non-wool kilts with edge stitching down the in and out pleats.
If the pleats are top stitched you do not need to re-press the pleats after washing.
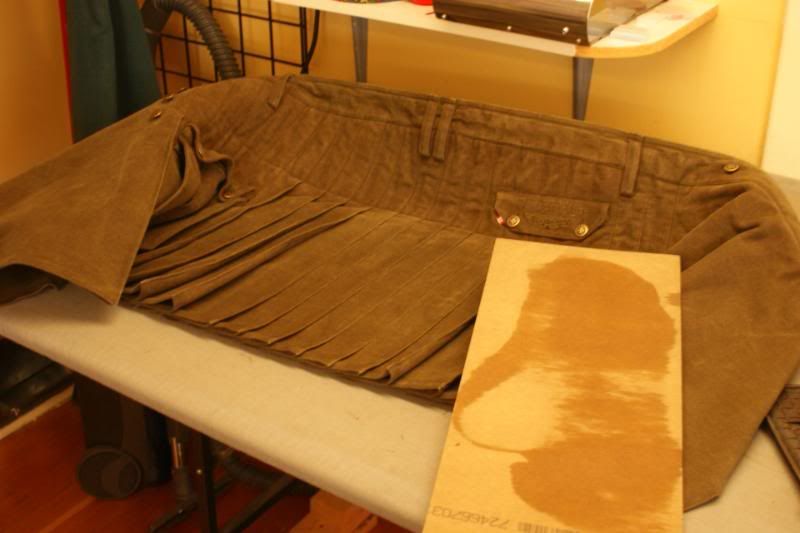
Here is how we iron the pleats of a Cotton Kilt.
We use a scrap of Formica or Arborite. Slide it into the pleat and iron. Use lots of shots of steam.
You can also see in this photo how we lift the Fell section of the Kilt up to allow the pleats to remain perfectly straight and parallel.
Here is a shot of the what the pleats look like. Sort of a before and after thing.
I can iron an entire Kilt in under 5 min this way.


Bookmarks