|
-
23rd January 12, 06:43 PM
#1
-
-
23rd January 12, 06:49 PM
#2
-
-
23rd January 12, 06:56 PM
#3
Re: XMarks vest on the bias
This is awesome. Give me more! 
A stranger in my native land.
Kilty as charged.
-
-
27th January 12, 10:57 AM
#4
Re: XMarks vest on the bias
I'm watching THIS thread!
-
-
27th January 12, 12:50 PM
#5
Re: XMarks vest on the bias
This is a great thread! Can't wait for the "money shot," when Bob models it with his kilt. (And he better be giving his lovely wife a big smooch on the cheek when the picture is snapped.) Oh, boy, Oh, boy, Oh, boy....
The Rev. William B. Henry, Jr.
"With Your Shield or On It!"
-
-
28th January 12, 05:57 AM
#6
Re: XMarks vest on the bias
Sydnie, I think this is my most favorite thread on X-Mark ever! Looking forward to seeing the 'in use' photos!
-
-
23rd January 12, 06:56 PM
#7
-
-
23rd January 12, 07:04 PM
#8
Re: XMarks vest on the bias
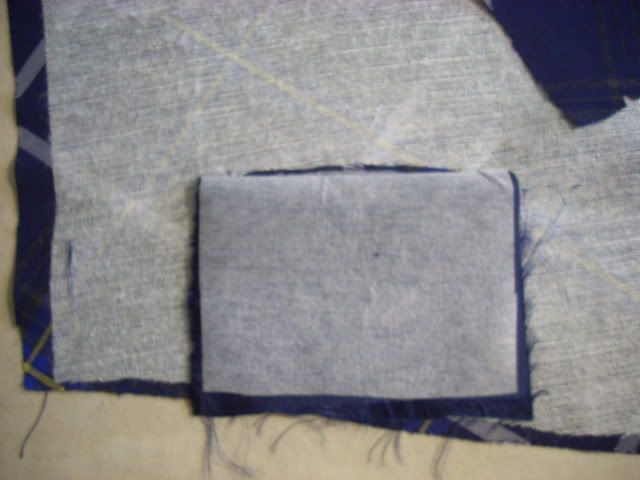
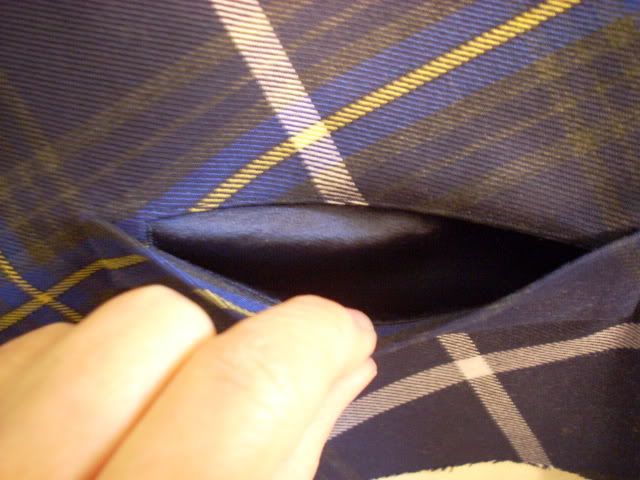
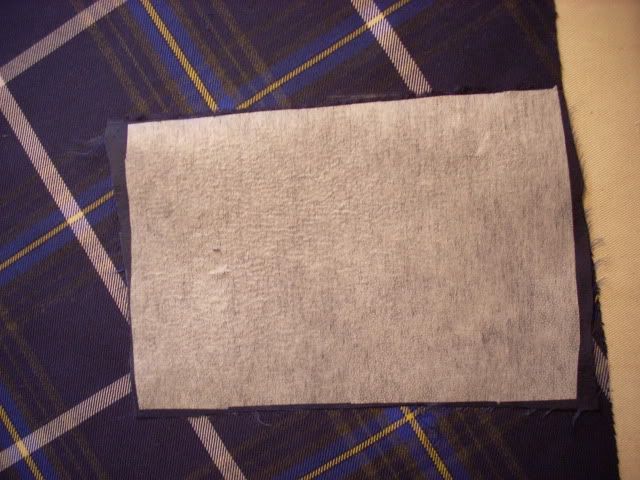
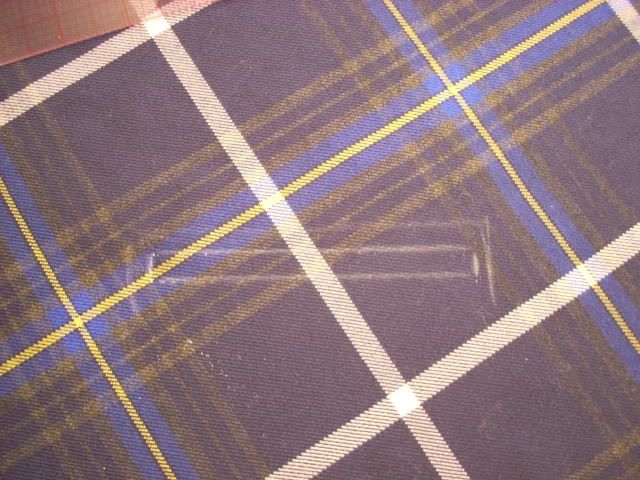
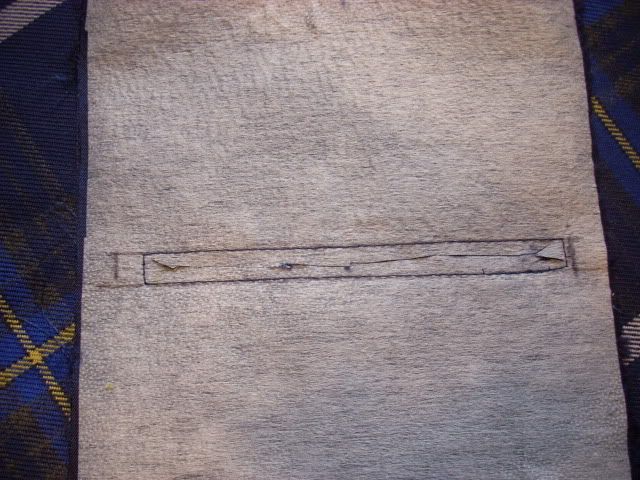
Pocket opening with the welt pinned beneath it. Now, if I were Really Good (like Lady C or paulhenry good), the welt would have been sewn into the lower part of the pocket opening and become an integral part of the whole turned piece. But I am Not That Good, so I'm doing it this way.
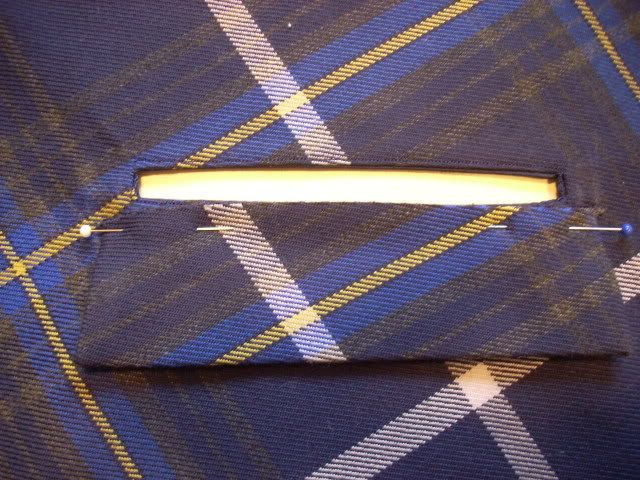
The welt hides the pocket opening, and still aligns with the vest front.
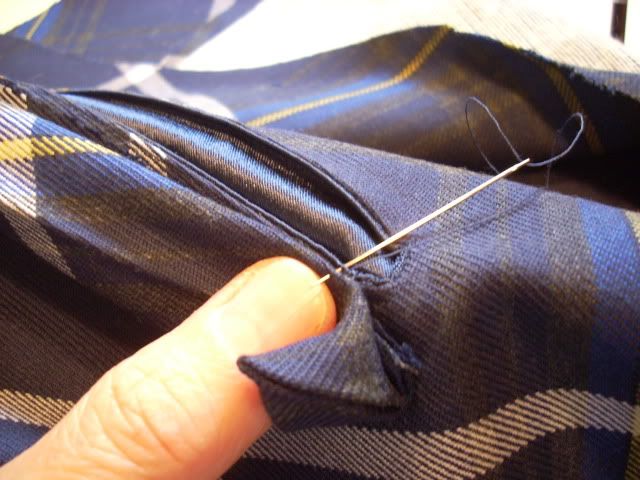
Remember to hold the pocket patch out of the way when pinning and stitching the welt in place!
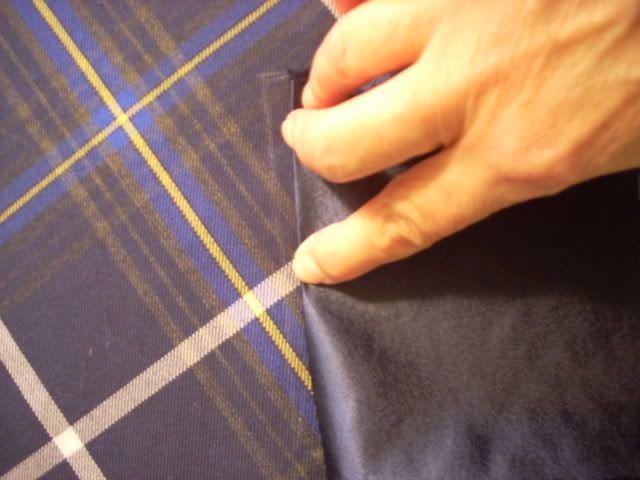
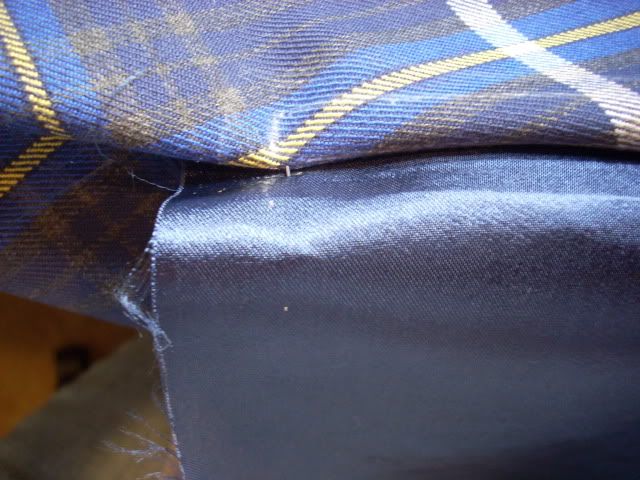
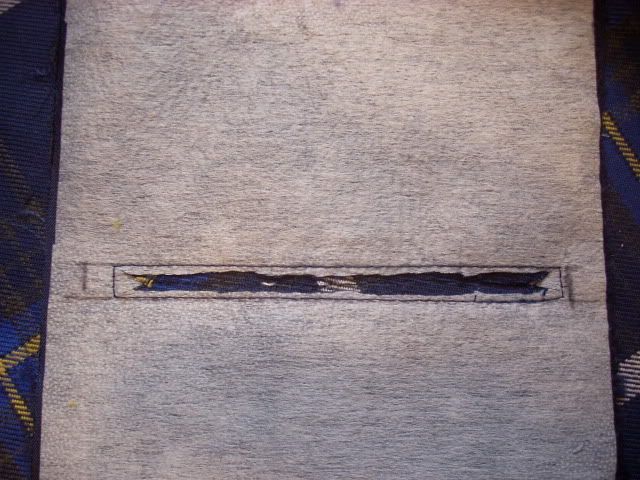
Welt stitched in place and pressed upward, over the pocket opening. Notice that the grey lines have gotten a little wonky, but the white and yellow lines are OK.
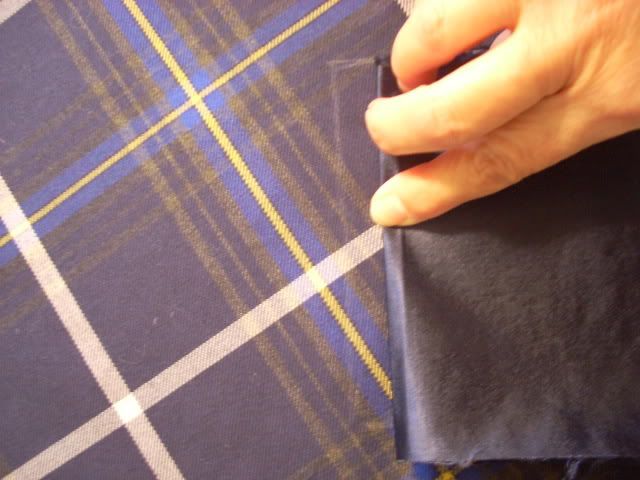
Here we are back inside, looking at the pocket patch. . .
Which will now get folded down to create the pocket, err, pocket.
Proudly Duncan [maternal], MacDonald and MacDaniel [paternal].
-
-
23rd January 12, 07:15 PM
#9
Re: XMarks vest on the bias
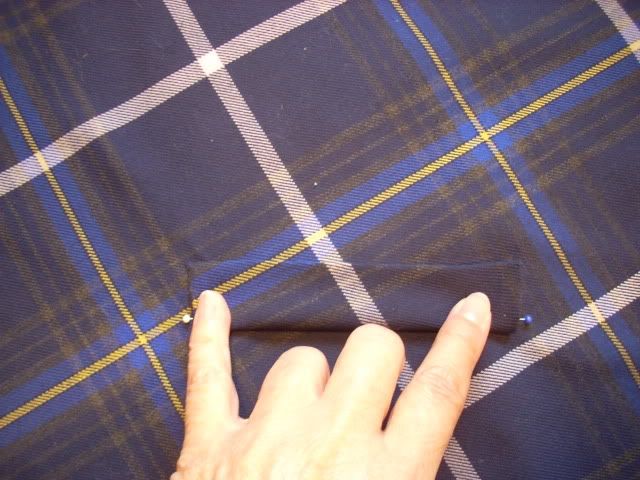
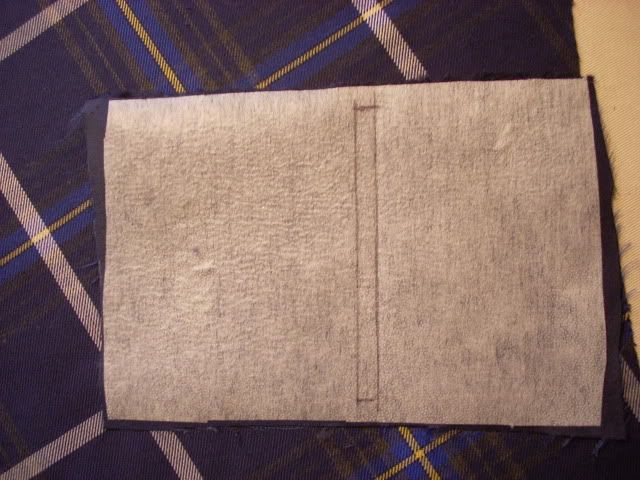
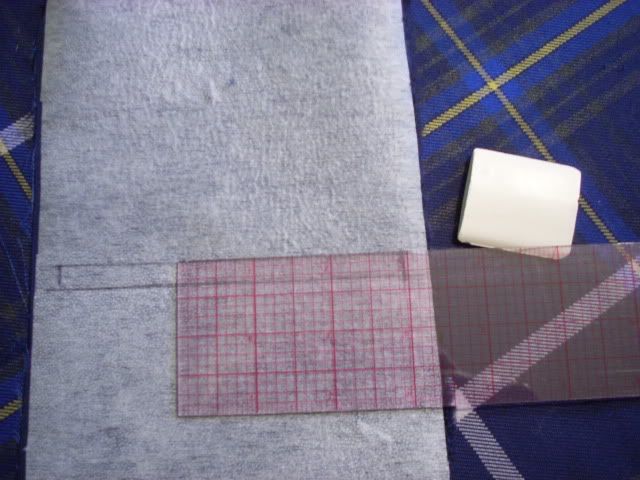
Measuring up to mark the eventual hemline -- you don't want the pocket seam allowance to be longer than this.
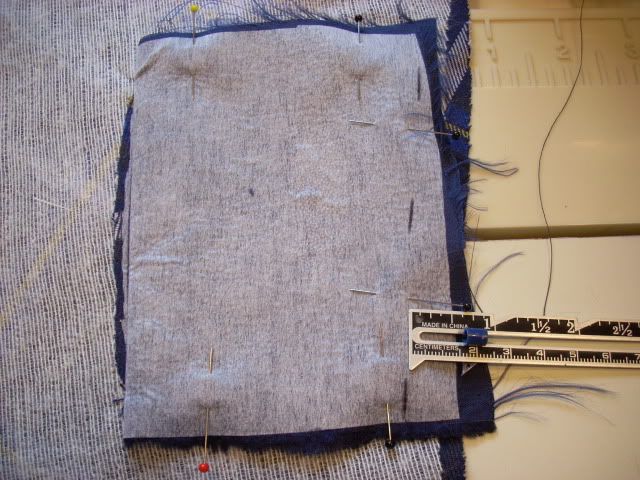
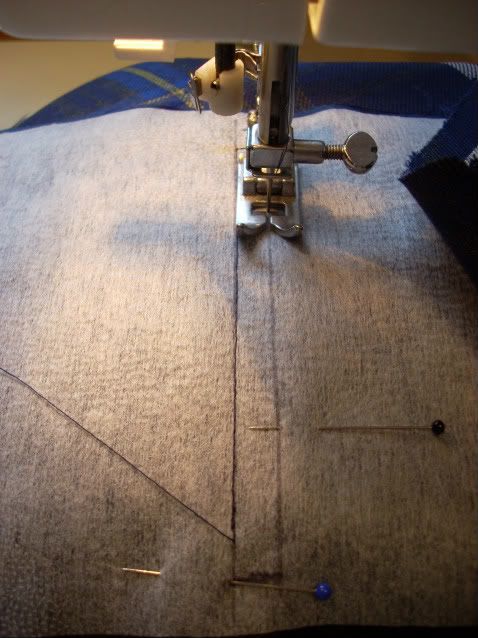
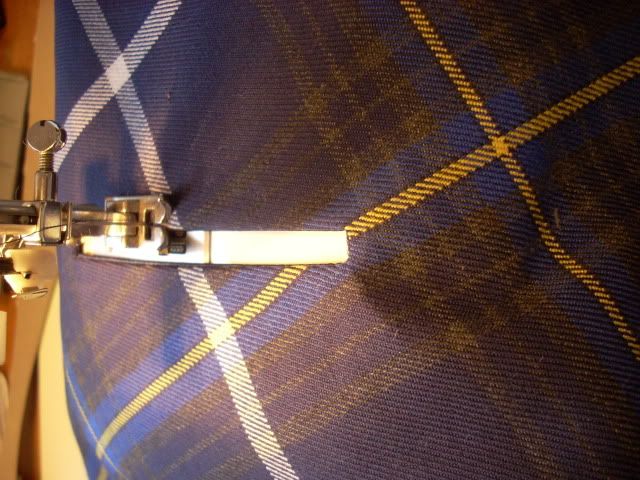
Fold the vest front out of the way and sew around both sides and bottom of folded pocket patch.
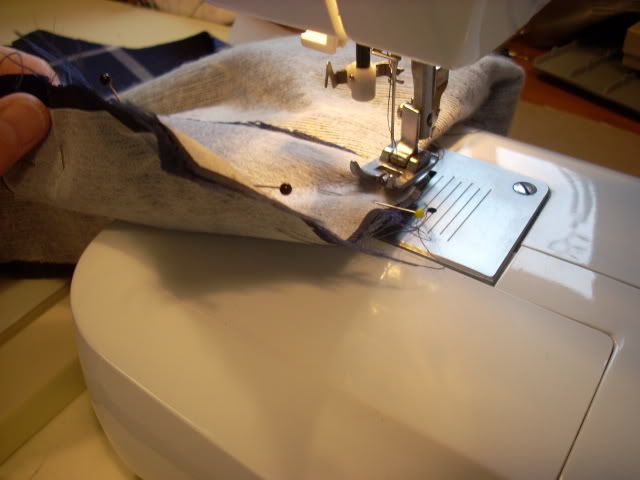
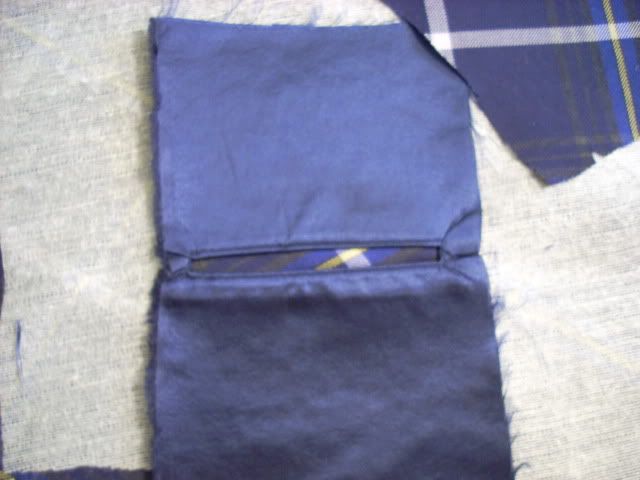
I sewed around twice for strength, then trimmed and graded seam allowance.
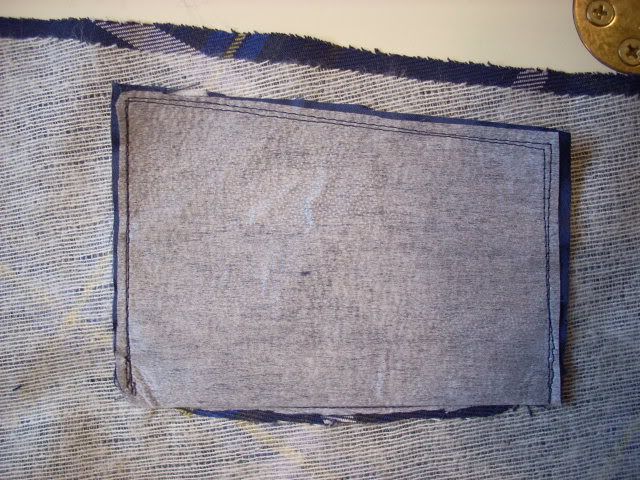
I slipstitched the lower edge of pocket opening to the inside layer of welt, both to help hide the raw edge of welt and to help the user (that is, Bob) to more easily slide a hand into the pocket. Otherwise, you might get hung up in the little area between pocket and welt.
For final pressing, I cut another piece of cardboard to slide beneath welt, just to that line of slipstitching. Helps to prevent the different layers beneath from leaving press marks on the outer welt.

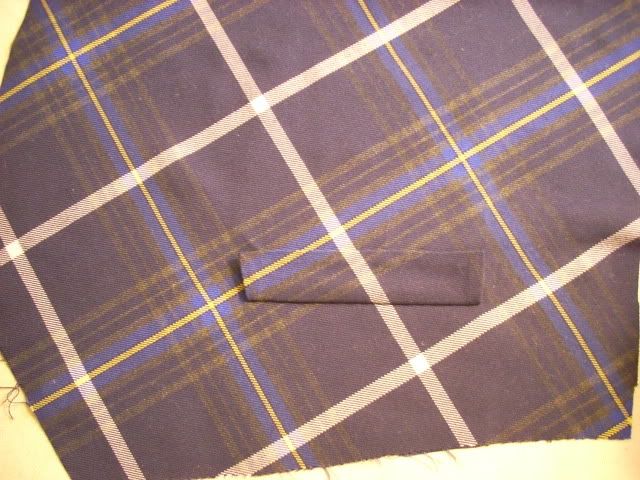
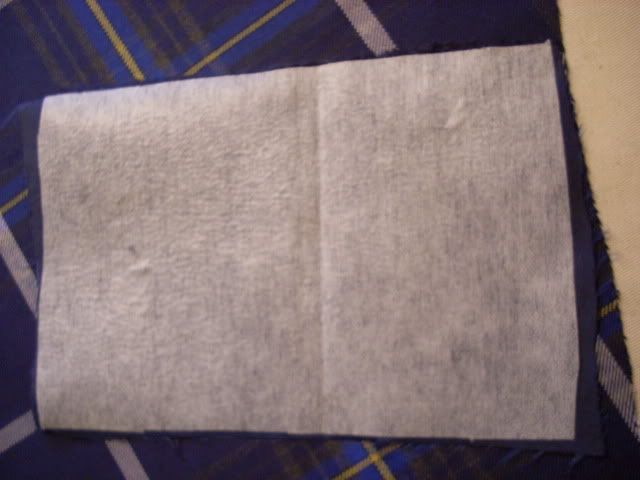
Finished pocket, with pretty good yellow and white alignment. It looks better in real life than it does at this angle of photo. But boy did those greys get out of whack! Not at all sure how that happened. Hard to see here, but the grey aligns pretty well at right-hand end -- just in the center that they look drunken. Oh well, my hope is that in real life the white and yellow will carry the day and nobody will see the greys. . .
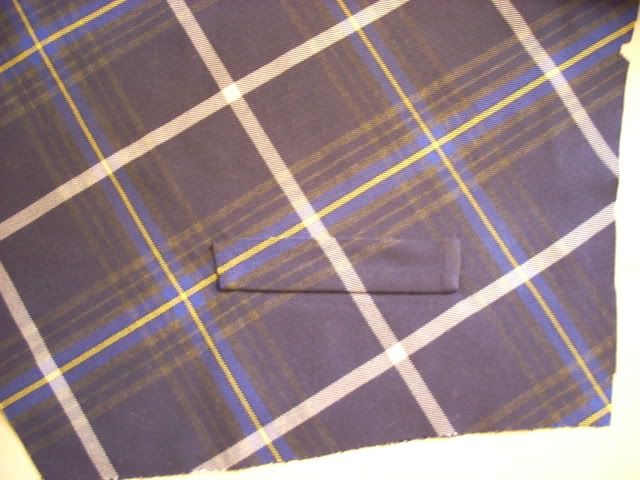
There sure is a pretty pocket hidden underneath!
One done, now lather, rinse. . . OMG, I have to do this again?!?  
Proudly Duncan [maternal], MacDonald and MacDaniel [paternal].
-
Similar Threads
-
By sydnie7 in forum DIY Kilt and Accessories Help
Replies: 19
Last Post: 16th January 12, 07:13 PM
-
By davidg in forum Kilt Advice
Replies: 13
Last Post: 13th November 11, 11:23 PM
-
By Deil the Yin in forum The Tartan Place
Replies: 15
Last Post: 24th January 11, 08:30 AM
-
By Jon Lilley in forum DIY Showroom
Replies: 6
Last Post: 20th July 10, 02:09 PM
-
By chasem in forum DIY Showroom
Replies: 8
Last Post: 11th February 09, 06:18 PM
 Posting Permissions
- You may not post new threads
- You may not post replies
- You may not post attachments
- You may not edit your posts
-
Forum Rules
|
|


Bookmarks