|
-
17th November 14, 08:48 AM
#1
Pressing Pleats, what I'm considering
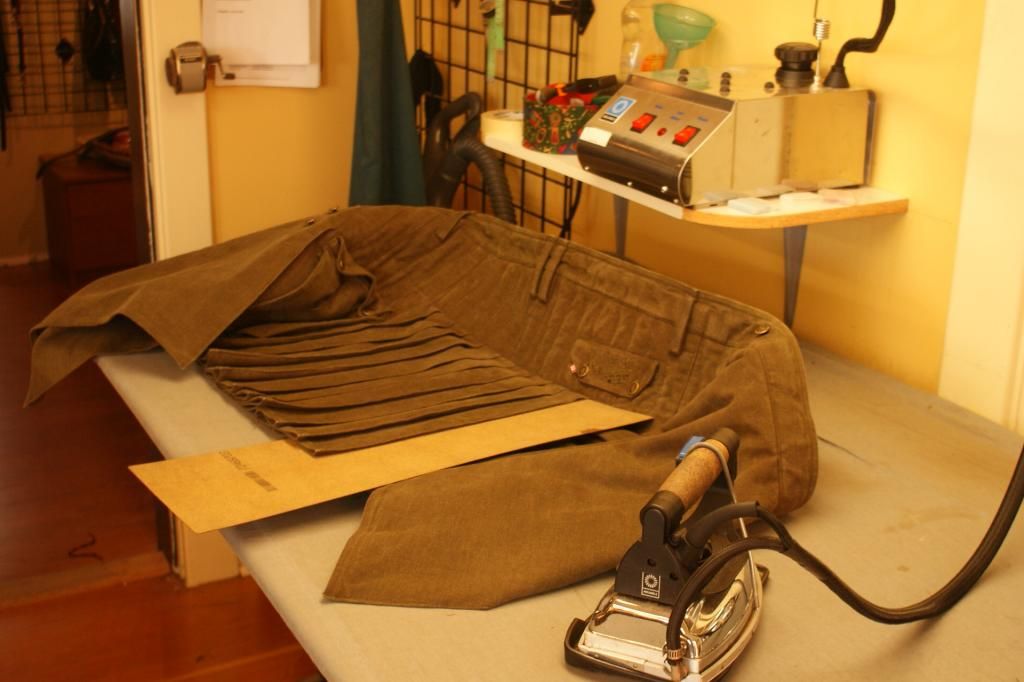
As I've mentioned before, I'm just not satisfied with the pleats in my Kilt Kamp project. I've taken some out. But I got to thinking; Steve at Freedom Kilts presses the pleats in before sewing, unlike Barb who sews first then presses. I'm thinking about doing something in between by making a pressing board of very heavy cardboard, or light wood, and wrapping it with cloth for padding. Then carefully laying out my first pleat (starting over) and pressing the portion to be stitched down (the fell) to a nice sharp edge, then sewing it properly in place. I'll pick up the next pleat and do the same over again and so forth.
This will be a very slow method, but I already hold the record as the world's slowest kilt maker, so I won't be ruining my reputation. I just need to find a more precise way to work through this first kilt, and then maybe I can eventually learn to freehand it like Barb.
Any thoughts?
It will be a while before I get back to the kilt. A friend's house burnt down and the kilt room is now housing for the homeless until everything is resolved.
-
-
17th November 14, 09:53 AM
#2
I don't know how Steve (or the others who use this method) do it, but I can't see how you can get an accurate edge. Especially if you are talking about putting your "pressing board" inside the pleat? I could be reading that part wrong. But as you know the edge of the pleat must be very sharply folded, i.e. Knife edge. Having any thickness inside of the pleat would dull the edge so to speak. And doing it under an iron, where you can't see the result. . . Now there are little tiny irons, along the lines of a soldering iron but with flat end for pressing, that would give you better visibility.
Then there's the challenge of sewing exactly along the edge that you've pre-pressed. Obviously other people have figured out how to do this, and make it work for them. Maybe it works better if you are machine stitching that edge?
I hope you do find something that makes you happy with your pleats -- that Infinity tartan is such a beautiful fabric!
Proudly Duncan [maternal], MacDonald and MacDaniel [paternal].
-
-
18th November 14, 08:33 AM
#3
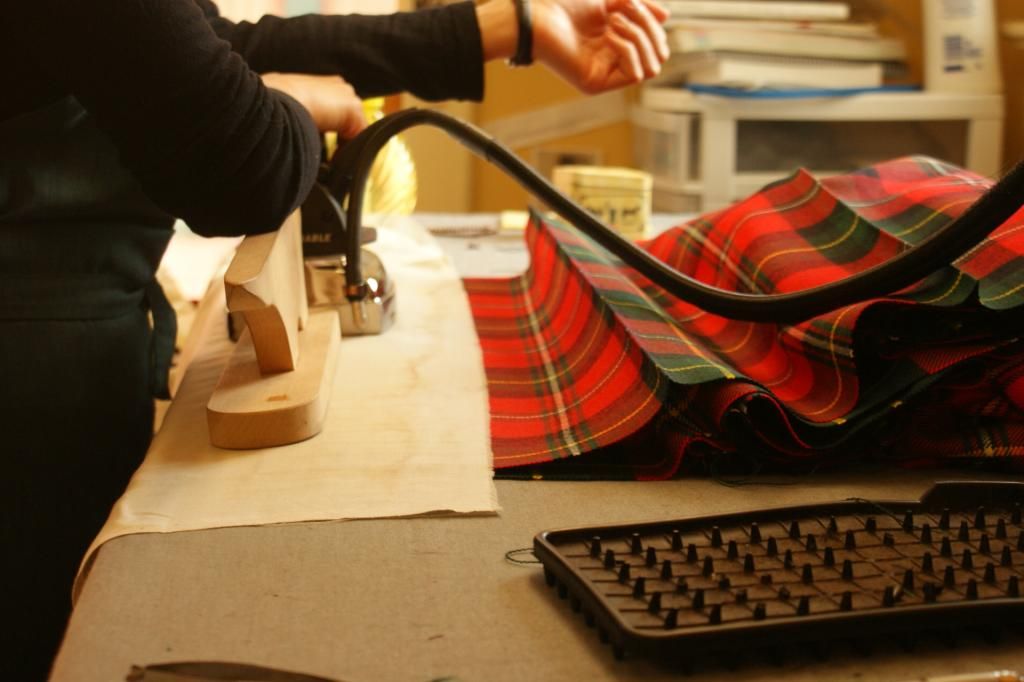
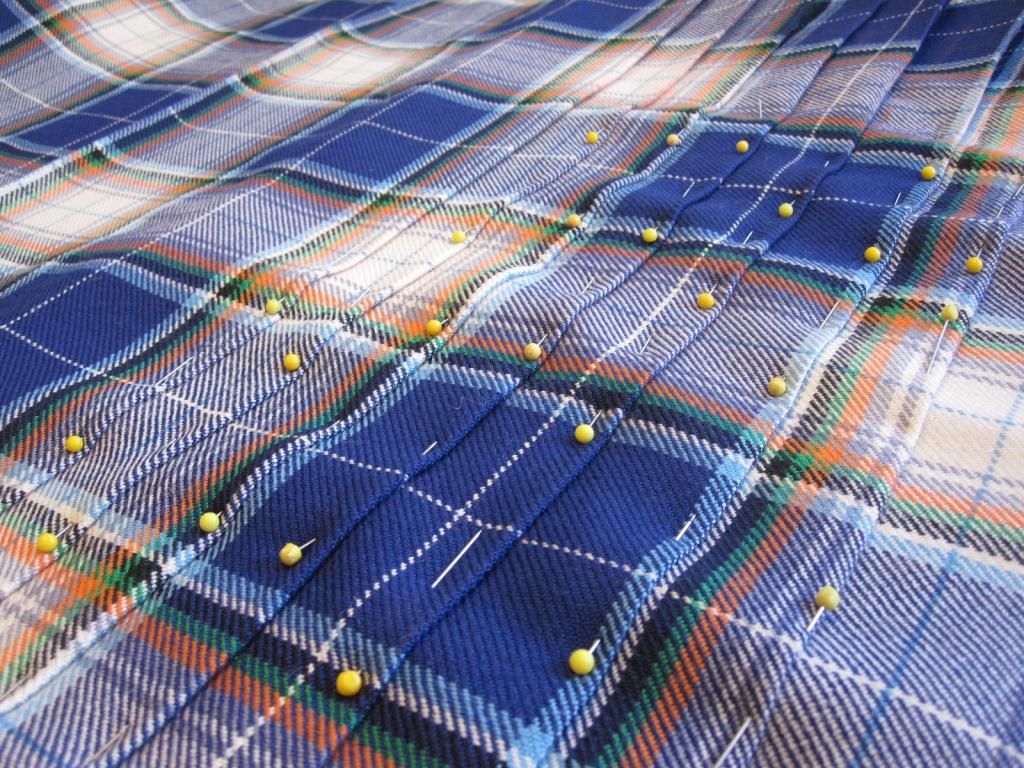
Pressing the pleats in before sewing them worked well for me. I was using the iron at Steve's shop, which has a Teflon shoe and does not require a pressing cloth. With a little practice I was able to press the pleats in very precisely, pin them in place, then stitch them. I was so impressed with how well it worked that I bought an identical iron and made a 3'x6' pressing table.
I'm sure this method won't appeal to everyone, but it works for me.
"Once you can accept the universe as matter expanding into nothing that is something, wearing stripes with plaid comes easy." - Albert Einstein
-
-
18th November 14, 09:20 AM
#4
Others who are much more in the know than I are certainly invited to weigh in on this remark ... but I think David you also have to take into account that Steve usually is working with PV (although I know he does work with wool as well). One of the things with wool is that it is mouldable (is that a word) with heat and steam. One of the reasons traditional kiltmakers don't press until after they have the kilt made - gosh I hope I have this right - is that when the steam is applied it gives it's shape to the wool. Pressing first may take away some of that ability which is inherent in wool.
...and then there is always the problem of what do you do if you press it wrong. I'm sure somewhere along the line in your military career you messed up a pressing and had some pointed-headed sergeant climb up your frame.  (By no means do I wish to disrespect any pointed-headed Sgts or W/Os who are members here. We all know that you only yelled at us out of love and affection. ) (By no means do I wish to disrespect any pointed-headed Sgts or W/Os who are members here. We all know that you only yelled at us out of love and affection. )
-
-
18th November 14, 11:47 AM
#5
 Originally Posted by plaid preacher

but I think David you also have to take into account that Steve usually is working with PV (although I know he does work with wool as well)
I am going to jump in here, since this statement is not strickly accurate. Steve works equally with wool and pv in the shop. He will have to comment on whether he uses a different technique in pressing for handstitched or machine stitched (since he does both).
Last edited by KiltedKnome; 18th November 14 at 11:50 AM.
-
The Following User Says 'Aye' to KiltedKnome For This Useful Post:
-
18th November 14, 02:43 PM
#6
-
The Following 4 Users say 'Aye' to The Wizard of BC For This Useful Post:
-
19th November 14, 12:51 PM
#7
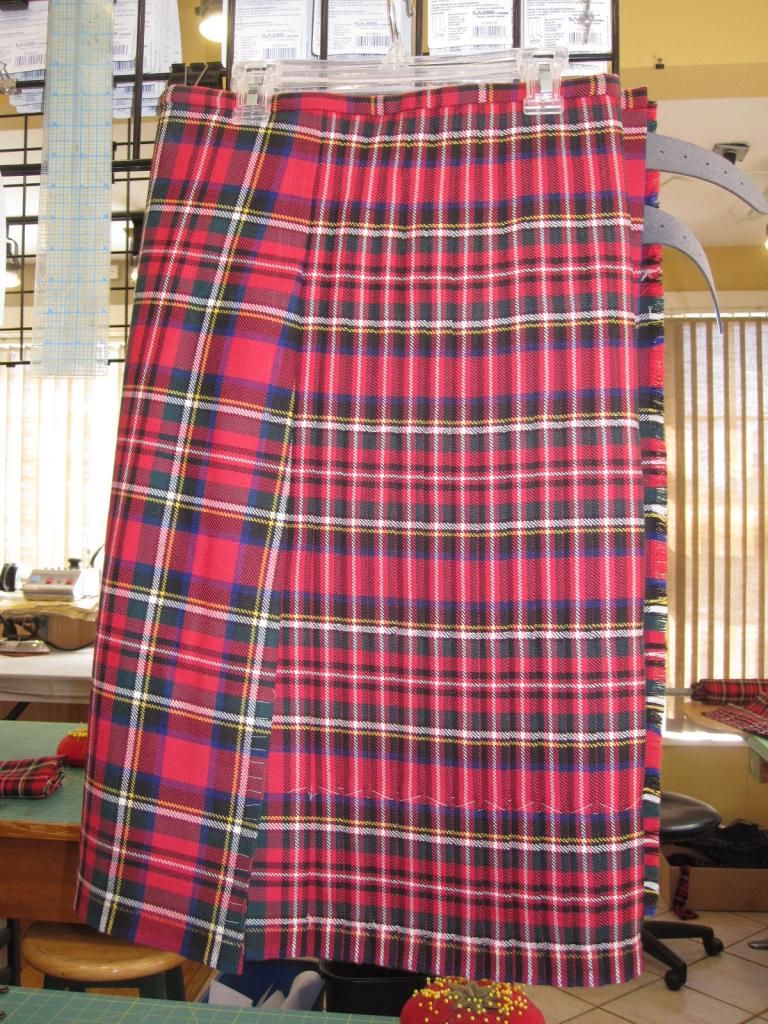
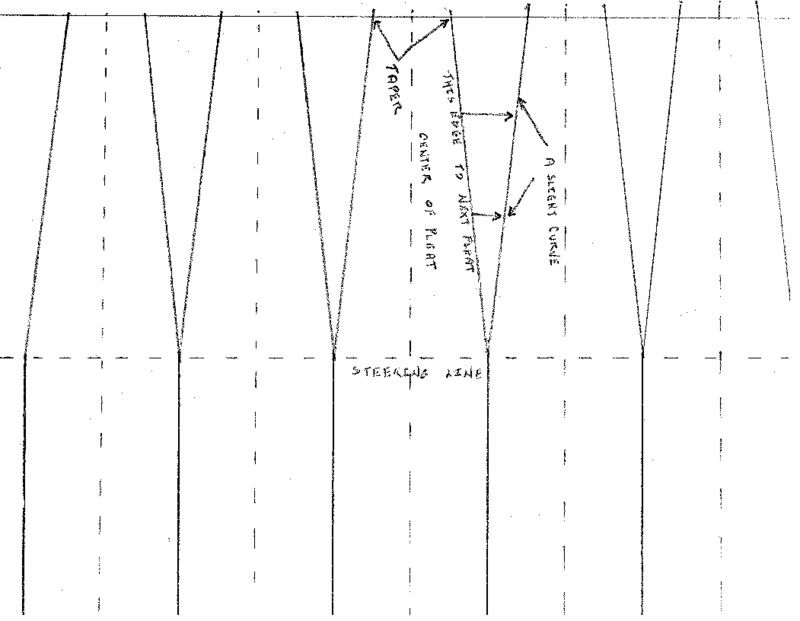
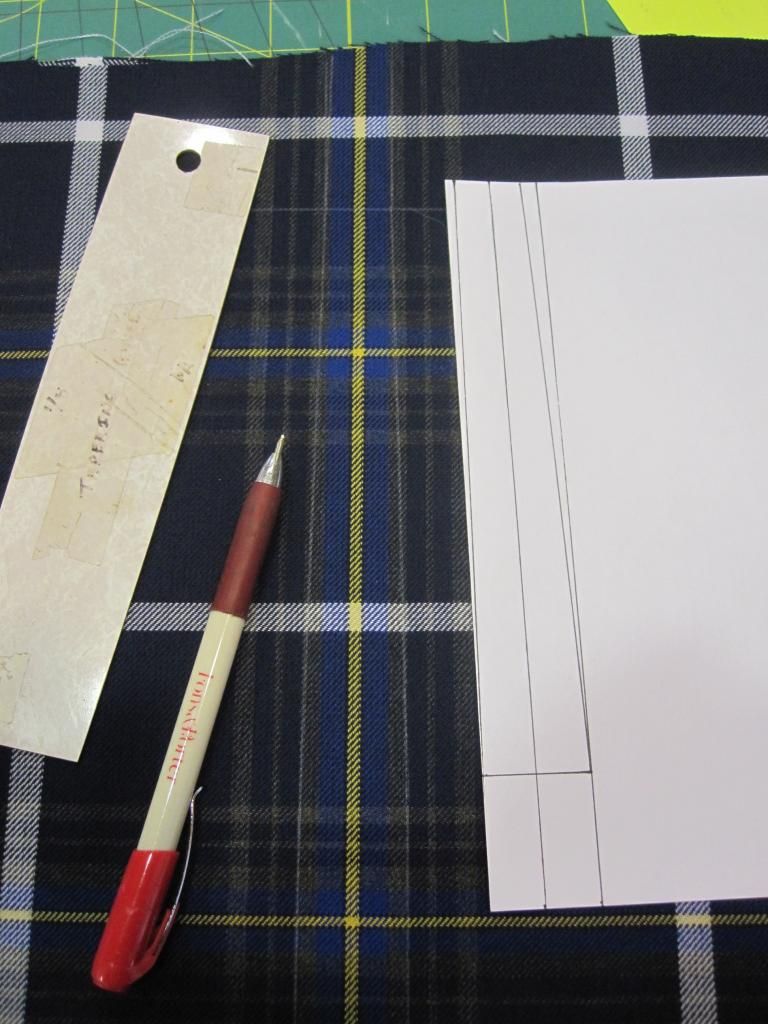
My thought was just to press one pleat at a time, and only press the top eight inches, the fell portion, that needs to be stitched down. What I've been trying to do is set the very top of the pleat, at the waist, at one-inch wide, the measurement I need, and to carry the one-inch width down two inches, creating a waist band of sorts, and then tapering the pleat to full width of 1 1/4" or 1 5/16". Altogether I need twenty pleats and the four outer most on each side need to be 1 5/16" and the remainder in between 1 1/4" to get the total measurement I need.
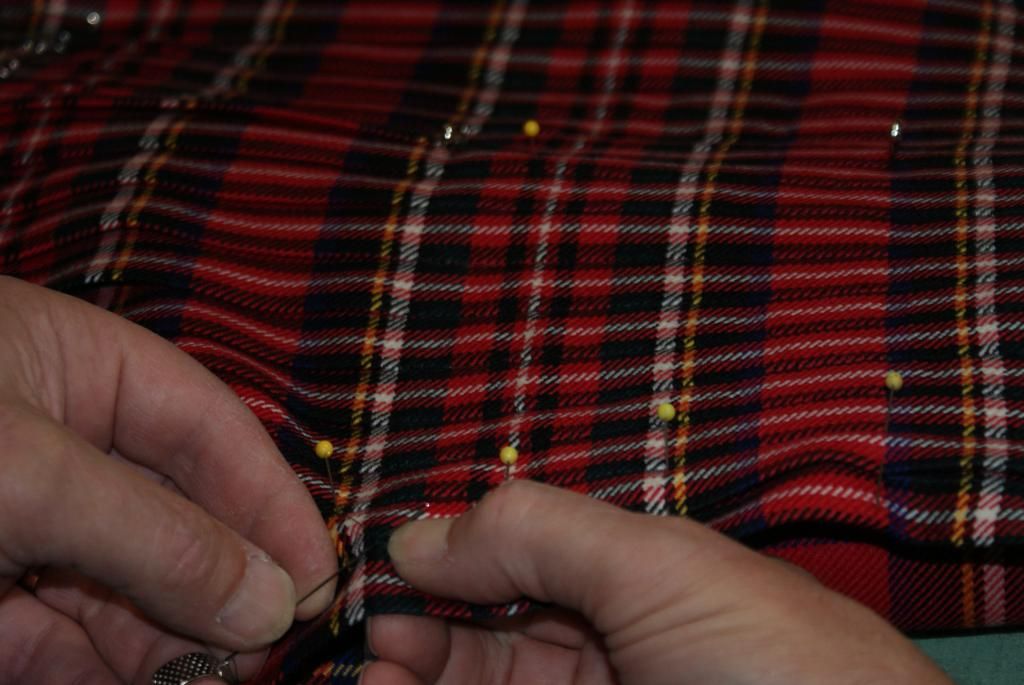
I have trouble measuring with just a tape and freehanding as Barb does. I've tried pinning in the pleats to get a sharp edge to sew along, and basting the edge of the pleat with short stitches to hold the edge firmly in place, but I've not gotten the "perfect" pleats I desire. So, I've been thinking, given my limited work space etc. of just ironing down the eight inches to be stitched so I can establish a sharp edge to stitch along, and once all that business is done, basting the pleats in place as Barb teaches, and pressing in the remaining portion of the pleats in the regular fashion.
I know this all sounds like a lot of work, but dang it, I want my pleats to be picture perfect. Sure, this is my first kilt, and I suppose imperfects should be expected, but I want them to be few and far between, not in every pleat. I'm probably going to have to sell this kilt when it is done. At the rate I'm going I will have lost so much weight before the kilt is finished that it will be too big on me. Who wants to by a ratty looking kilt? Oh! the price one pays for being the World's Slowest Kiltmaker.
-
-
19th November 14, 01:04 PM
#8
You can of course do what you are planning.
And from your description I think you are planning right. From the center of the top buckle up to the waistband the pleats should be the same width or flare outwards slightly.
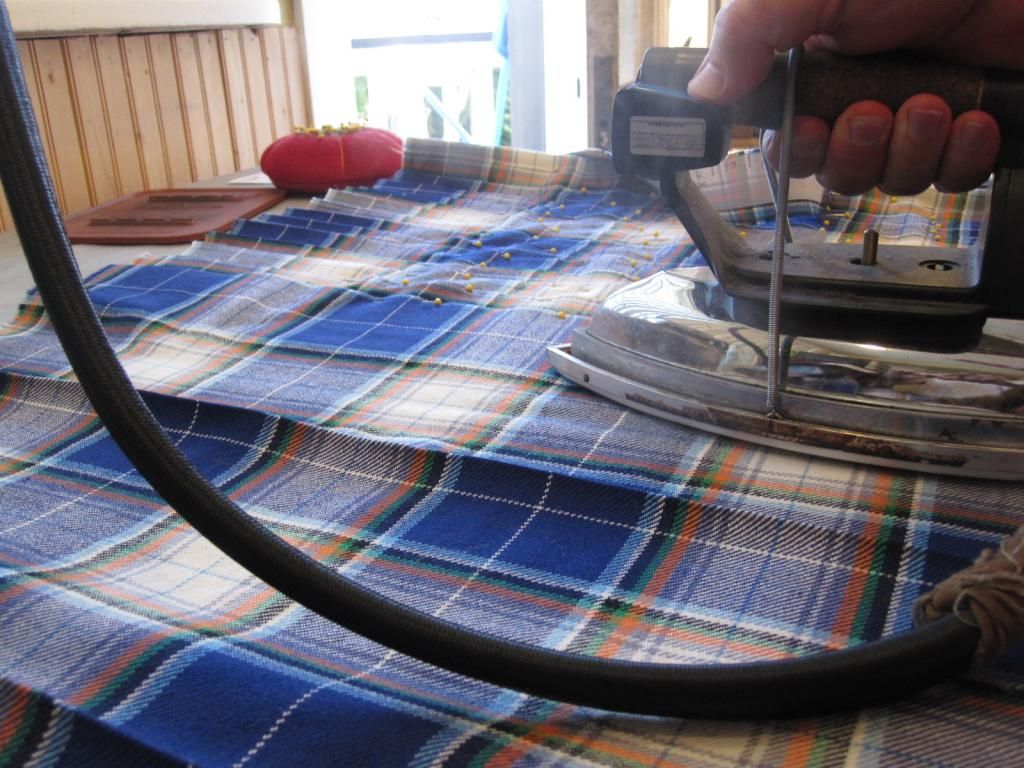
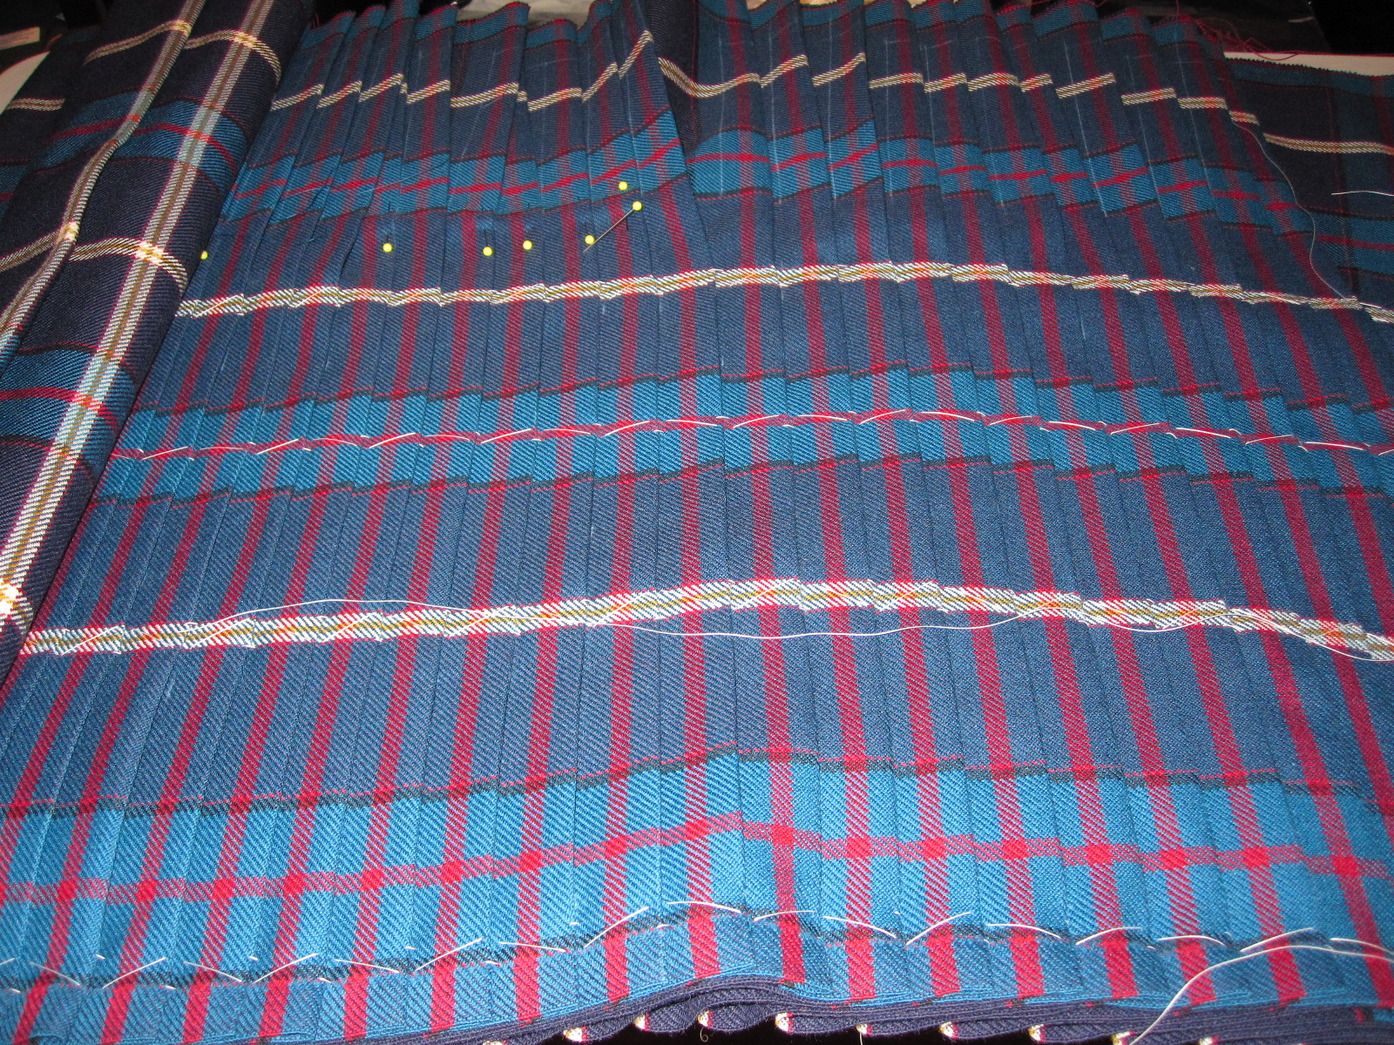
If I may suggest - And this is exactly how we re-size a kilt - find a small piece of something like formica (Arborite here in Canada) or anything which will hold up under the heat of your iron.
Mark your pleats and then slide the formica into the pleat. It will form a pressing shield protecting the rest of the pleats and give you a nice sharp creases edge to the one you want.
Here is a pic showing the same idea being used to iron the pleats of a Cotton Kilt when the edges curl.
Steve Ashton
www.freedomkilts.com
Skype (webcam enabled) thewizardofbc
I wear the kilt because: Swish + Swagger = Swoon.
-
The Following User Says 'Aye' to The Wizard of BC For This Useful Post:
 Posting Permissions
- You may not post new threads
- You may not post replies
- You may not post attachments
- You may not edit your posts
-
Forum Rules
|
|


Bookmarks