X Marks the Scot - An on-line community of kilt wearers.
|
-
28th July 08, 08:44 AM
#2
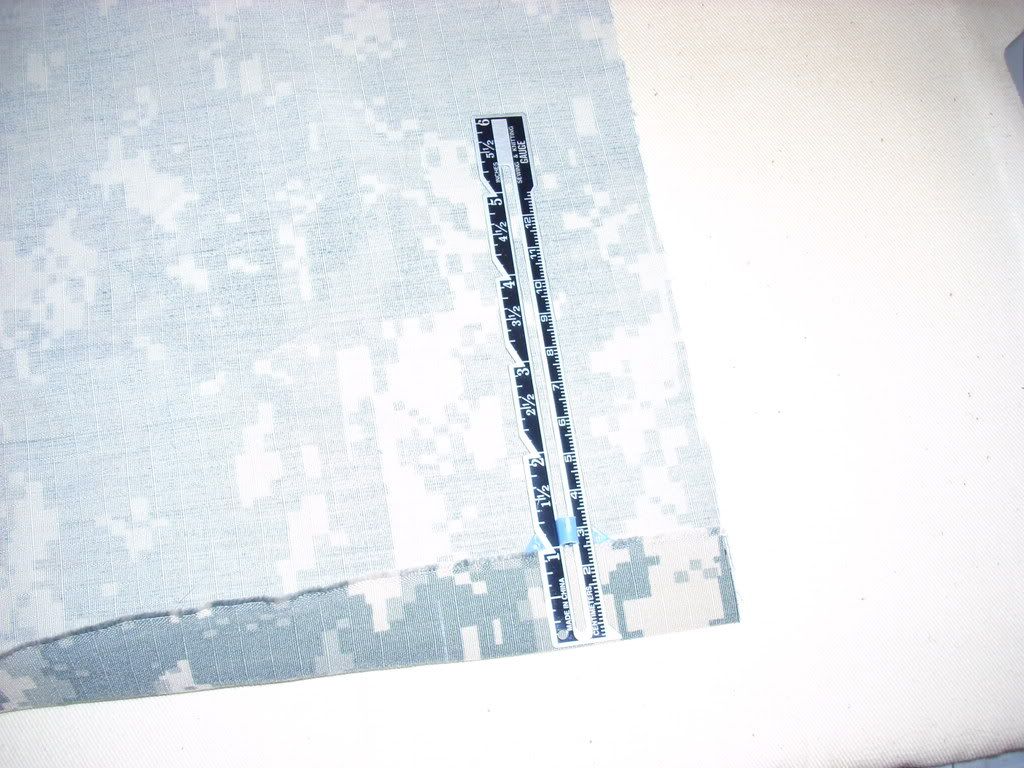
Now that the fabric is joined, I can hem the lower edge. This little seam gauge is a handy tool, you'll find them for $1 or so on the notions rack of any fabric store (or included in a "starter kit" of sewing notions).
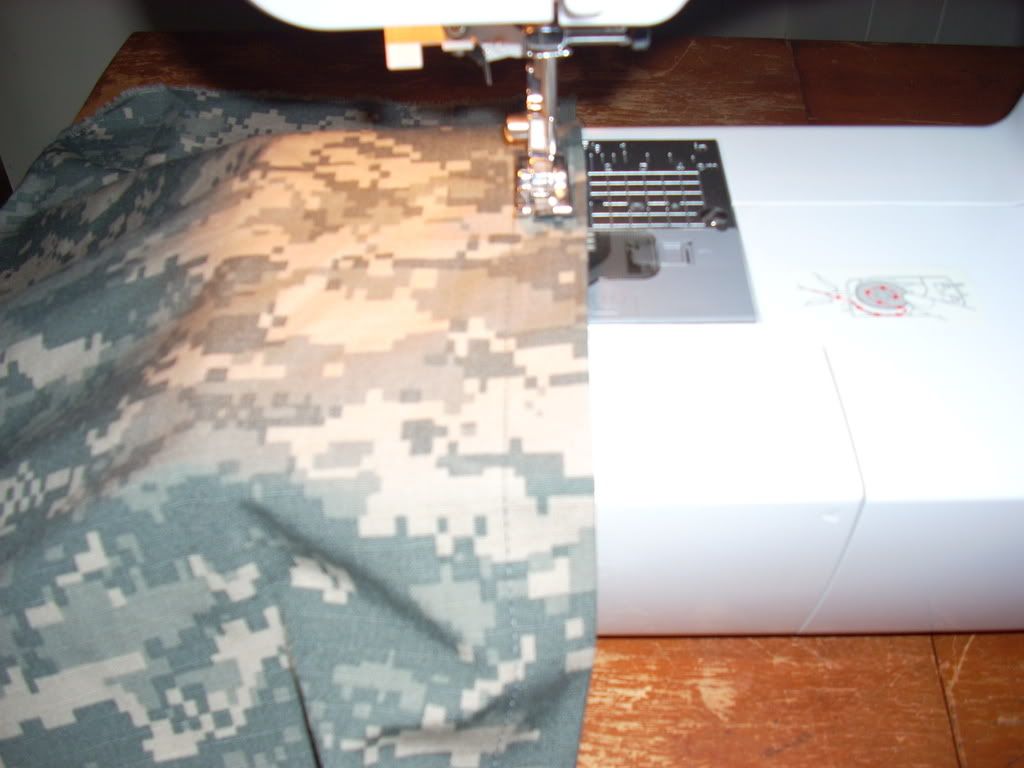
I ran two lines of stitching for the hem. Here I'm sewing the second line, using the left-hand edge of presser foot to establish/maintain even spacing between the two lines.
At the bottom of each outer pleat edge topstitch, I wanted a nicer finish to the line of stitching -- I wanted a single line of stitching that just stops, without a section of reversed stitching to lock the threads. To keep the stitching from coming undone, I pulled the threads through to the INSIDE FOLD of the pleat, then tied a knot and clipped the ends short. Here are the two threads pulled through to the inside fold.

The rest of the construction is going pretty much by the book, except when it came time to establish the big reverse pleat that underlies the front apron. The manual has you putting Velcro strip onto front apron before pleating. . . but then comes the big reverse pleat.
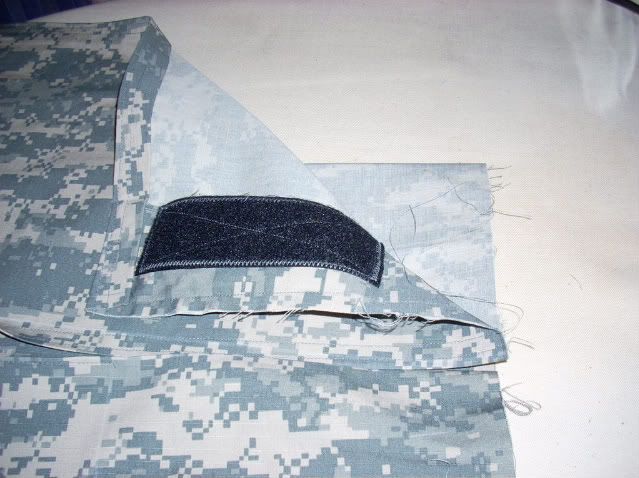
And most of your Velcro would be between the pleat and the front apron, where it can't stick to the underapron. So don't finish the right-hand edge of the front apron and put that Velcro strip on until you are ready to place the waistband! This means not capturing the left-hand edge of the Velcro strip inside the front apron finish -- I think it will be OK just secured along top and right-hand edges. I did stabilize the left-hand edge of Velcro strip, since it won't be captured inside the front apron finish. Thanks to Pleater and 12Stones for their replies to my earlier post on this subject.
http://www.xmarksthescot.com/forum/m...537/index.html
I'm to the point of sewing down inside of waistband, need to stop and make that leather thimble! More pics as I get farther along. . .
-
Similar Threads
-
By Mipi in forum Kilt Advice
Replies: 16
Last Post: 27th May 08, 01:34 AM
-
By Brian F in forum DIY Showroom
Replies: 10
Last Post: 24th October 07, 06:40 AM
-
By ScottInNewHampshire in forum General Kilt Talk
Replies: 23
Last Post: 3rd April 07, 08:50 PM
-
By O'Neille in forum General Kilt Talk
Replies: 3
Last Post: 27th August 06, 05:48 PM
-
By Miah in forum How to Accessorize your Kilt
Replies: 3
Last Post: 21st July 04, 11:49 AM
 Posting Permissions
- You may not post new threads
- You may not post replies
- You may not post attachments
- You may not edit your posts
-
Forum Rules
|
|


Bookmarks